SaltStack Config is a tool that allows you to manage machine configurations, by installing and monitoring drift of the required software for a given machine. Whether using it to install monitoring agents across all machines or deploying database applications or full application stacks, SaltStack Config can help you accomplish these tasks.
First let’s look at the architecture of the platform. SaltStack Config sits on top of Salt Open Source. Salt Open Source is a command line tool where a Salt Master maintains configuration elements and applies them to Salt Minions. Salt minions are all the machines that are managed by Salt. SaltStack Config applies a graphical UI layer, adding in job scheduling, reporting, scalability and more to Salt Open Source.
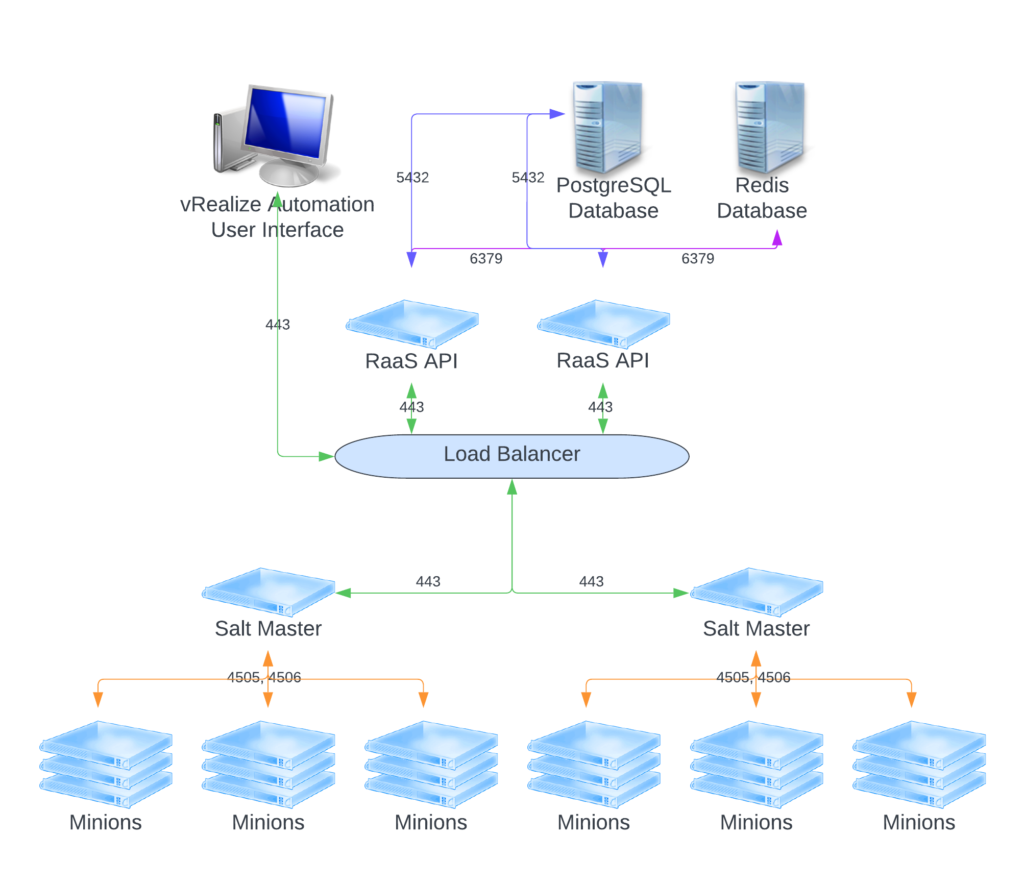
There are 3 different methods of setting up SaltStack Config: vRealize Software Lifecycle Manager, SaltStack Standard and VMware Cloud Services. We will discuss the standard install here.
SaltStack Config
This method is more robust and scalable than the vRealize Software Lifecycle Manager method and is the recommended method for an on-premises solution.
To begin, we first need to deploy 4 different servers with the following requirements. Additional Salt Masters of the same configuration can be added later to increment the number of minions supported. For the full details of sizing your architecture beyond these getting started numbers check out VMware’s Sizing Guide
| Node | CPU / Memory | # Minions Supported |
| Salt Master | 16 / 16 GB | 5K |
| RaaS | 16 / 16 GB | < 20K |
| PostgreSQL | 8 / 8 GB | < 15K |
| Redis DB | 4 / 4 GB | < 20K |
Although SaltStack Config supports installation on RHEL / CentOS 7 – 9, I personally recommend 8 based on my lab testing. I attempted side by side deployments on RHEL 8 and RHEL 9 and 8 was a smooth install whereas 9 had many hiccups that I was never able to fully get through and gave up since 8 worked well.
Prerequisite Software Install
Salt Master Server
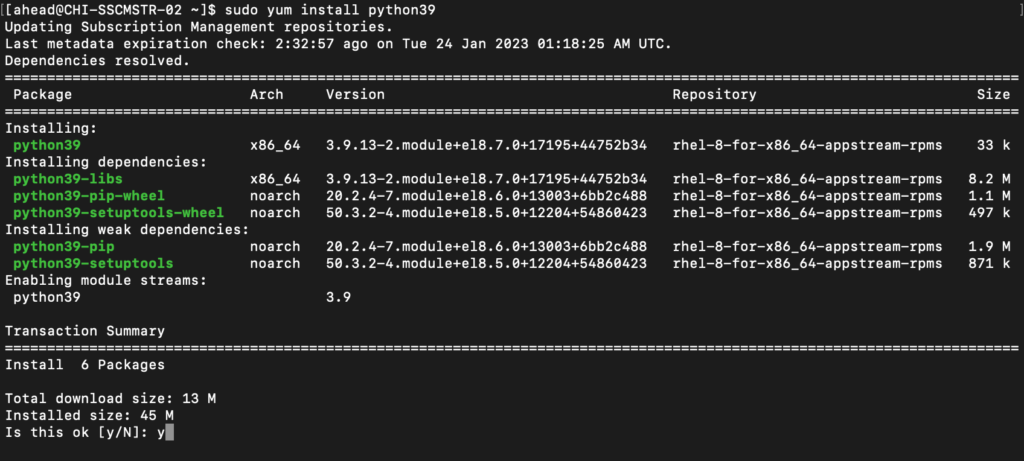
SaltStack Config packages its own Python 3.9.14. It doesn’t use the Python installed on your operating systems and it does not require it to be up to date. However, it is generally recommended that you run the latest version of Python on your system.
sudo yum install python39
The PyJWT Library is required for connecting and configuring the Salt Master. To install the PyJWT library on your Salt Master run this command.
sudo pip3 install pyjwt==2.3.0

RaaS API Server
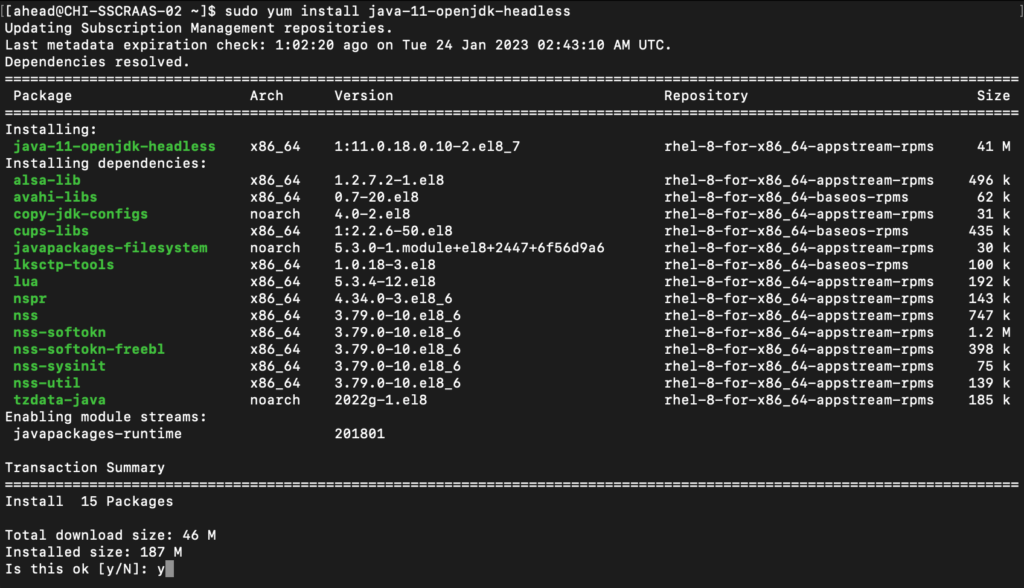
SaltStack Config requires a Java 11 runtime environment (JRE), specifically Java 11 is run on the RaaS node. The JRE is not included in the SaltStack Config installer. You must install it on your operating system prior to installation.
sudo yum install java-11-openjdk-headless
Validate your Java version by typing the following command.
java -version

All Servers
Run the following commands on the Salt Master, RaaS (API), PostgreSQL and Redis servers to import the repo and keys. This is done per OS version and Salt release. I ran the commands for RHEL 8 Major to be safe. Run both commands on each of the 4 servers for your choice.
RHEL / CentOS 8 Major
sudo rpm --import https://repo.saltproject.io/salt/py3/redhat/8/x86_64/3005/SALTSTACK-GPG-KEY.pubcurl -fsSL https://repo.saltproject.io/salt/py3/redhat/8/x86_64/3005.repo | sudo tee /etc/yum.repos.d/salt.repo
RHEL / CentOS 8 Latest
sudo rpm --import https://repo.saltproject.io/salt/py3/redhat/8/x86_64/latest/SALTSTACK-GPG-KEY.pubcurl -fsSL https://repo.saltproject.io/salt/py3/redhat/8/x86_64/latest.repo | sudo tee /etc/yum.repos.d/salt.repo
RHEL / CentOS 9 Major
sudo rpm --import https://repo.saltproject.io/salt/py3/redhat/9/x86_64/3005/SALTSTACK-GPG-KEY2.pubcurl -fsSL https://repo.saltproject.io/salt/py3/redhat/9/x86_64/3005.repo | sudo tee /etc/yum.repos.d/salt.repo
RHEL / CentOS9 Latest
sudo rpm --import https://repo.saltproject.io/salt/py3/redhat/9/x86_64/latest/SALTSTACK-GPG-KEY2.pubcurl -fsSL https://repo.saltproject.io/salt/py3/redhat/9/x86_64/latest.repo | sudo tee /etc/yum.repos.d/salt.repo

Following this, you should clear the repository metadata.
sudo yum clean expire-cache
Install Salt
Salt Master
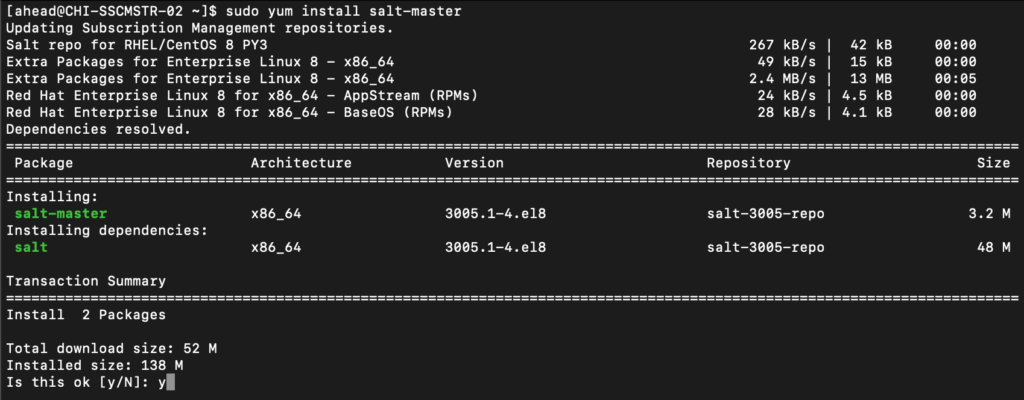
Install the Salt Master software by running the following command.
sudo yum install salt-master
Now, install the Salt Minion software by running this command.
sudo yum install salt-minion

Once the Salt Master and Minion software is installed, we need to configure the minion service to point to the master. Since, on this server, it is the same box, we will point to localhost. To do so, run the following command.
sudo vi /etc/salt/minion.d/master.conf
Add the below line to the file and save the file.
master: localhost

Now we need to enable and start the services. Run the following commands to do this.
sudo systemctl enable salt-mastersudo systemctl start salt-mastersudo systemctl enable salt-minionsudo systemctl start salt-minion

RaaS / PostgreSQL / Redis
Install the Salt Minion software by running this command.
sudo yum install salt-minion

Now that the Salt Minion is installed, we need to configure the minion service to point to the master. This process is similar to how we did this on the Salt Master, but we will need to specify the Salt Master IP this time rather than localhost. To do so, run the following command.
sudo vi /etc/salt/minion.d/master.conf
Add the below line to the file and save the file.
master: <master IP>

Now we need to enable and start the service. Run the following commands to do this.
sudo systemctl enable salt-minionsudo systemctl start salt-minion
Accept Salt Keys
Now that all the Salt software is installed, we need to accept the keys for all the minions, including the master server itself.
Login to the Salt Master server and list the keys that are seen by Salt by running the following command.
sudo salt-key -L

To accept the keys, use the following command and execute for each of the listed Unaccepted keys.
sudo salt-key -a <key name>

Download SaltStack Config
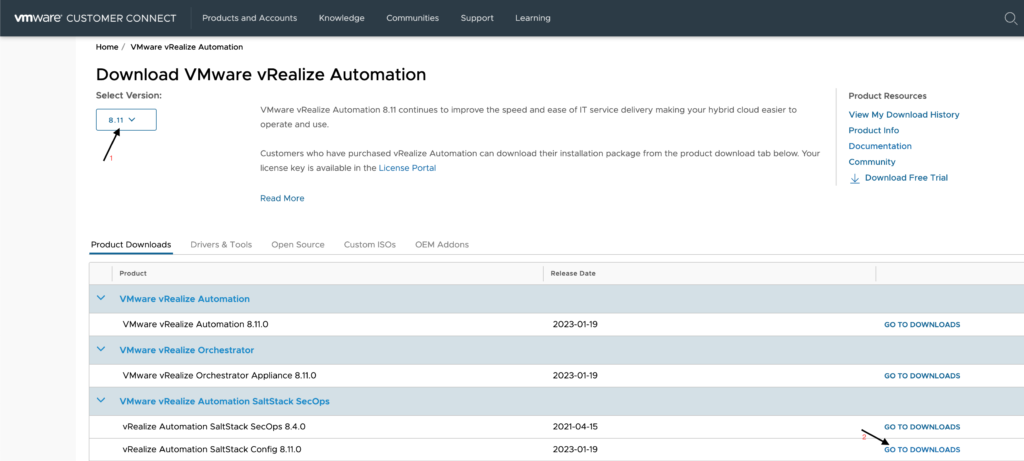
Login to Customer Connect on vmware.com and go to the downloads area for vRealize Automation. Select your version , then click on Go To Downloads for vRealize Automation SaltStack Config as seen below.
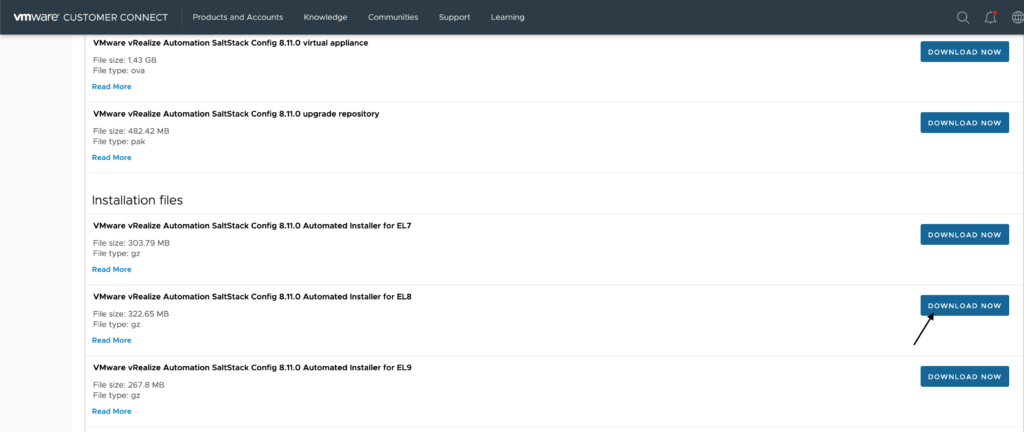
Click Download Now for the installation files for your OS version.
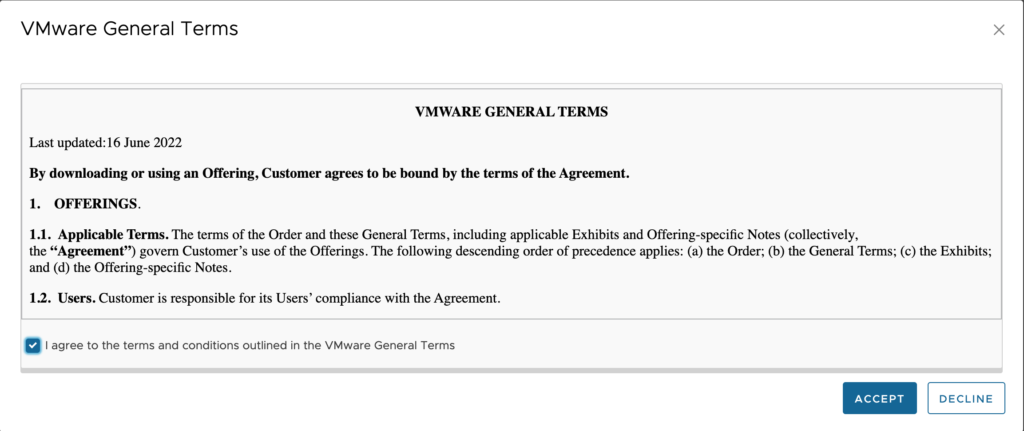
You will need to check the box that you agree to the General Terms and click Accept to begin the download.
Once the download is complete, you will need to copy the file to the Salt Master server. Once copied up you will need to unzip the file. In my case, I needed to install tar first. So I ran the following commands.
sudo yum install tarsudo tar -zxvf SaltStack_Config-8.11.0.2-1.el8_Installer.tar.gz
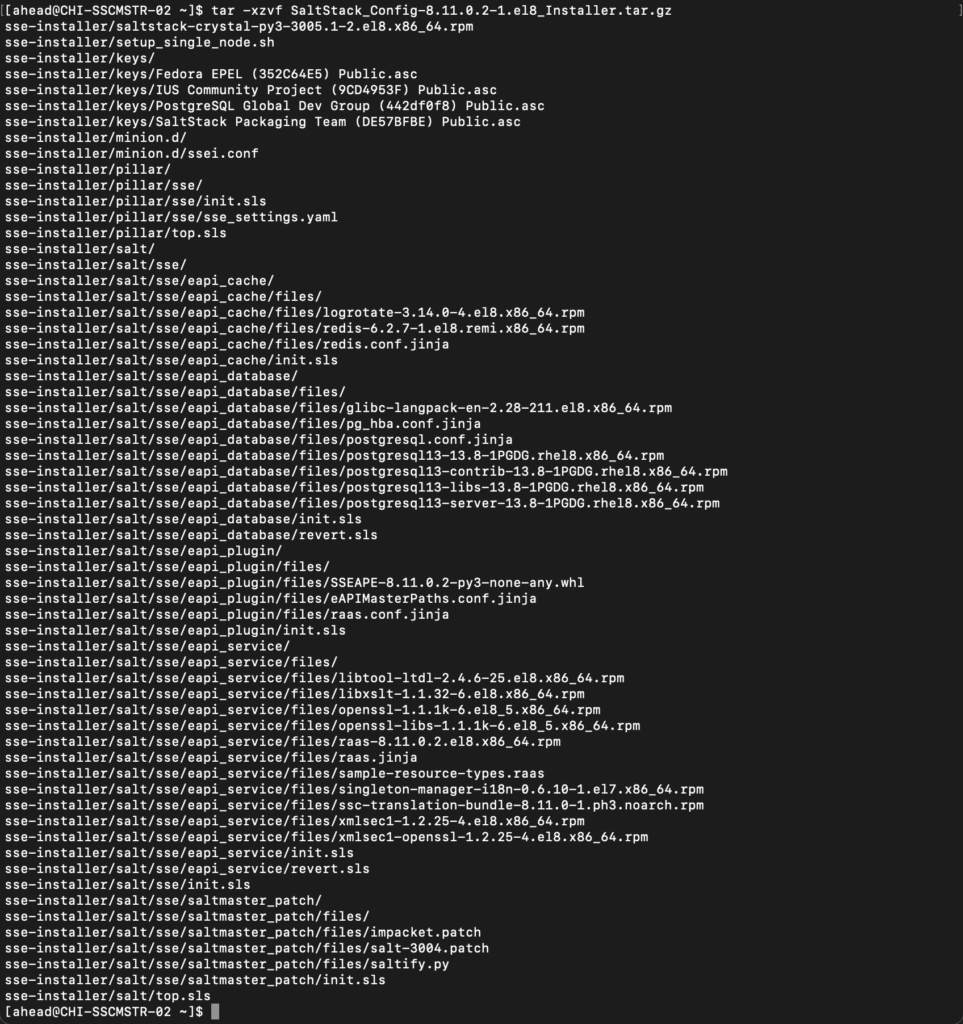
Once this was unzipped, I copied the sse-installer folder that is created from the unzip to /
Now we need to change directory to /sse-installer and import the rpmkeys with the following commands.
cd /sse-installersudo rpmkeys --import keys/*.asc

Install SaltStack Config
We need to Copy and edit the top state files now. To do this, you copy the orchestration files provided with the SaltStack Config installer to the Salt master node. Then, you edit the files to reference the three nodes for RaaS, the Redis database, and the PostgreSQL database.
Connect to the Salt Master machine and run the following commands to copy the needed files.
cd /sse-installersudo mkdir /srv/saltsudo cp -r salt/sse /srv/salt/sudo mkdir /srv/pillarsudo cp -r pillar/sse /srv/pillar/sudo cp -r pillar/top.sls /srv/pillar/sudo cp -r salt/top.sls /srv/salt/

In the /srv/pillar/ directory, there is a file named top.sls that you copied over from the installation files in the previous step. Open this file in an editor and enter all the SaltStack servers as shown below.

In the /srv/pillar/sse directory, there is a file named sse_settings.yaml. In this file, there are 5 sections we need to configure. Open this file in an editor and we will go through all the settings that need to be changed.
Section 1:
- pg_server: enter your PostgreSQL server minion ID.
- redis_server: enter your Redis DB server minion ID.
- eapi_servers: enter your RaaS (API) server minion ID. You can have multiple of these entered in.
- salt_masters: enter you Salt Master server minion ID. You can have multiple of these entered in.

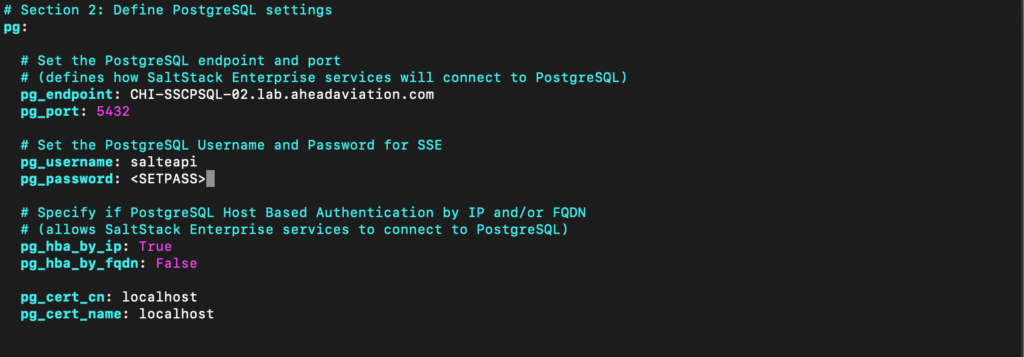
Section 2:
- pg_endpoint: enter your PostgreSQL server.
- pg_port: enter the port on which to connect to PostgreSQL. I left this as the default, 5432.
- pg_username: enter a username of your choosing for PostgreSQL connection. I left this as the default, salteapi.
- pg_password: enter a password of your choosing for PostgreSQL connection.
Section 3:
- redis_endpoint: enter your Redis DB server.
- redis_port: enter the port on which to connect to Redis DB. I left this as the default, 6379.
- redis_username: enter a username of your choosing for Redis DB connection. I left this as the default, saltredis.
- redis_password: enter a password of your choosing for Redis DB connection.

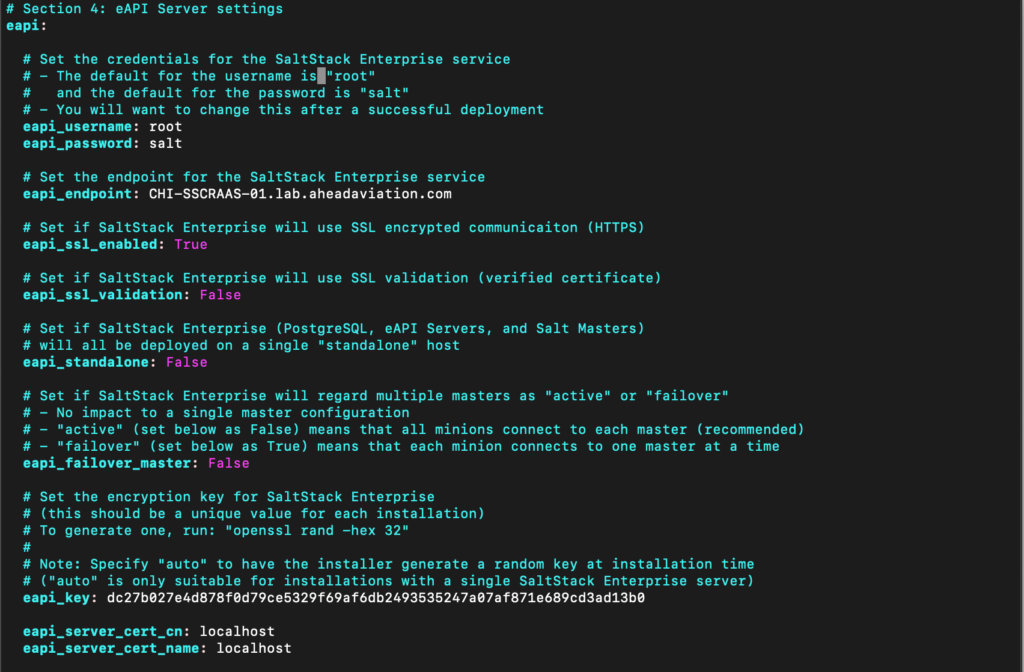
Section 4:
NOTE: Do not change the password in eapi_password field. This will be changed after the successful deployment.
- eapi_endpoint: enter the name of the RaaS (API) server.
- eapi_ssl_enabled: default is set to True. SSL validation is not required by the installer, but it will likely be a security requirement in environments that use CA certificates.
- eapi_ssl_validation: default is set to False. This means that the installer will not validate the SSL certificate.
- eapi_standalone: default is set to False. This variable would be true in the case of the vRealize Software Lifecycle Manager install, in which all components are shared in a single node.
- eapi_failover_master: default is set to False. This would be used if you were to configure a Multi Master configuration in failover mode (not active-active) and from within the installer.
Section 5:
- cluster_id: This variable defines the ID for a set of Salt masters when configured in a multi-master configuration. The default value should be left here, this will be edited at a later step, once the deployment is already running.

Now we need to refresh the grains and the pillar for all our nodes. You can run the command against all minions as I did, or you can specify each one in a list.
All Minions:
sudo salt \* saltutil.refresh_grainssudo salt \* saltutil.refresh_pillar
List of Minions (comma separate each one):
sudo salt -L ‘CHI-SSCMSTR-02.lab.aheadaviation.com,CHI-SSCRAAS-02.lab.aheadaviation.com’ saltutil.refresh_grainssudo salt ‘CHI-SSCMSTR-02.lab.aheadaviation.com,CHI-SSCRAAS-02.lab.aheadaviation.com’ saltutil.refresh_pillar
Each command’s output should look like the below image listing True or False for each node it ran against.

Now we will run the following command to validate the pillar data for all nodes is correct.
sudo salt \* pillar.items
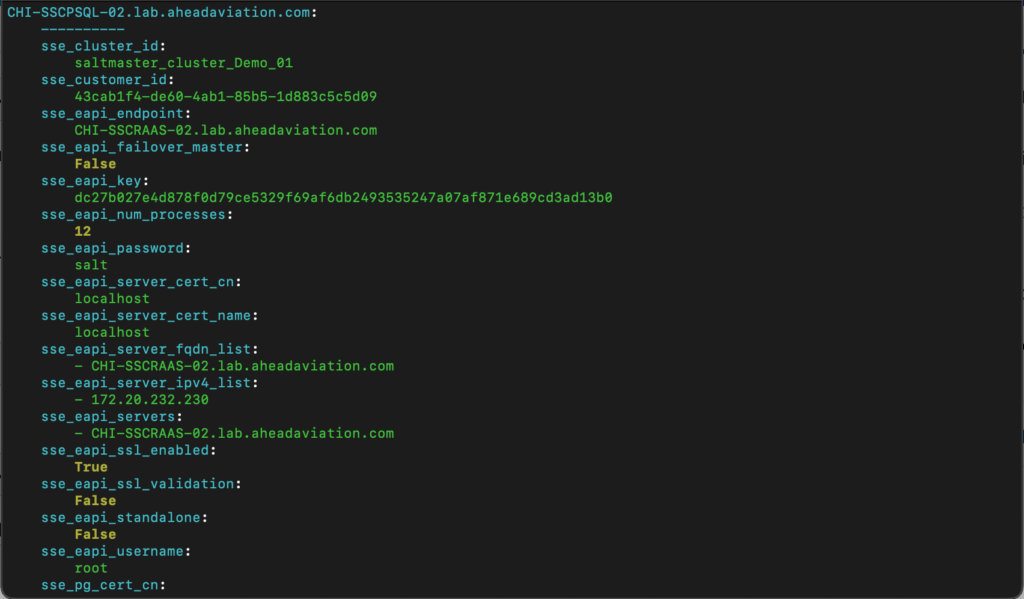
Now that you confirmed the data, it is time to apply the highstates to each node, by running the following command:
NOTE: The PostgreSQL database should always be applied first.
NOTE: You might get a ‘Authentication Error Occurred’ when applying the highstate to the Salt Master. This is expected, and it is displayed because the Salt Master has not authenticated to the RaaS node yet. This will be solved at a later step.
sudo salt <minion_id> state.highstate
You should see similar success as seen below on each minion run.

Install the License key
- Get your License Key from My VMware / Customer Connect (a vRA license is used)
- Login to your RaaS (API) server and create a file with a filename ending in _license such as ssc_license.
- Edit the file and add your license key.
- Change ownership of the license file and move the file to the /etc/raas directory.
sudo chown raas:raas ssc_license
sudo mv ssc_license /etc/raas
- Restart the RaaS service.
sudo systemctl restart raas
Install and configure the Salt Master Plugin
The Salt Master plugin allows the Salt Masters to communicate with SaltStack Config. The master plugin is installed on every Salt Master in your environment that communicates with SaltStack Config.
- Login to your Master server.
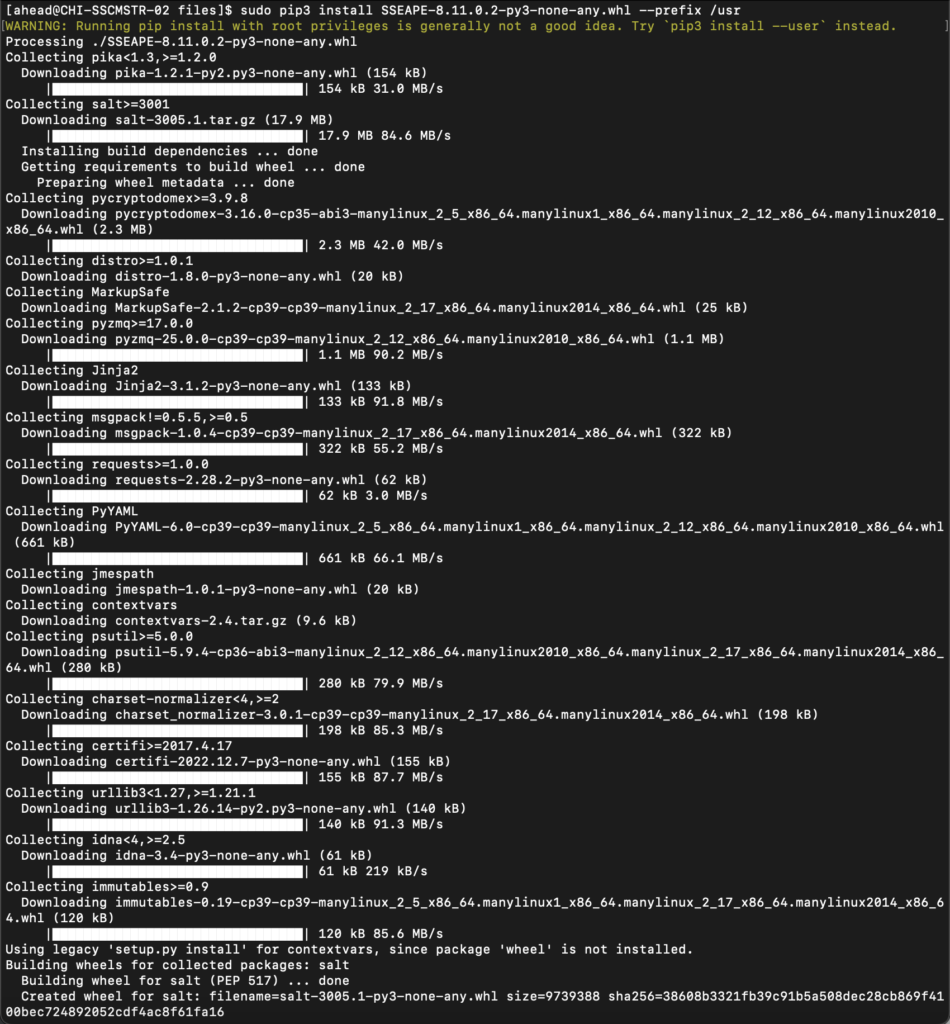
- Run the following commands to install the Master Plugin. Your version number in the filename may be different.
cd /sse-installer/salt/sse/eapi_plugin/files
sudo pip3 install SSEAPE-8.11.0.2-py3-none-any.whl --prefix /usr
- Verify that the /etc/salt/master.d directory exists and then run the following command to generate the master configuration settings
sudo sseapi-config --all > /etc/salt/master.d/raas.conf
NOTE: I had to do this step while being logged in as the root user since I was not able to generate the file even with a sudoer user. If this is your case, just switching to the root user and running the command will do the trick.
- Edit the /etc/salt/master.d/raas.conf file to reference your RaaS (API) server.
- sseapi_server: previously, we enabled SSL so we need to specify ‘https://<RaaS_Server>’
- sseapi_ssl_validate_cert: Unless you are using a CA cert, you should disable this so that the Salt Master can communicate with the RaaS server.

- Restart the salt-master service.
sudo systemctl restart salt-master
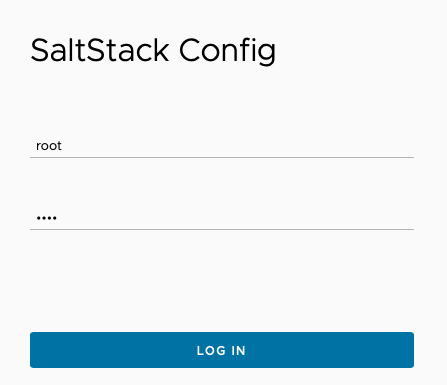
Now is the time to finally login to SaltStack Config and change the root password from the default. Open a browser and navigate to the UI that is hosted on https://<RaaS_Server> and login with root and the default password, salt.
Expand Administration and click on Local Users > root and set the password, then click save.

Lastly, we need to accept the Master Key. To do so, click on Master Keys under Administration. You will see that your Salt Master is listed under Pending. Go ahead and accept this key. Once you do that, all your minions should show up in the Minion keys section.



Leave A Reply