Upgrading vRealize Automation has been made a reasonably less painless activity since version 8 bringing in vRealize Suite Lifecycle Manager. Versions 6 and 7 of vRealize Automation were more cumbersome and involved several different systems to complete the task. Let’s walk through upgrading from 8.10.2 to 8.11.0 as an example of this process.
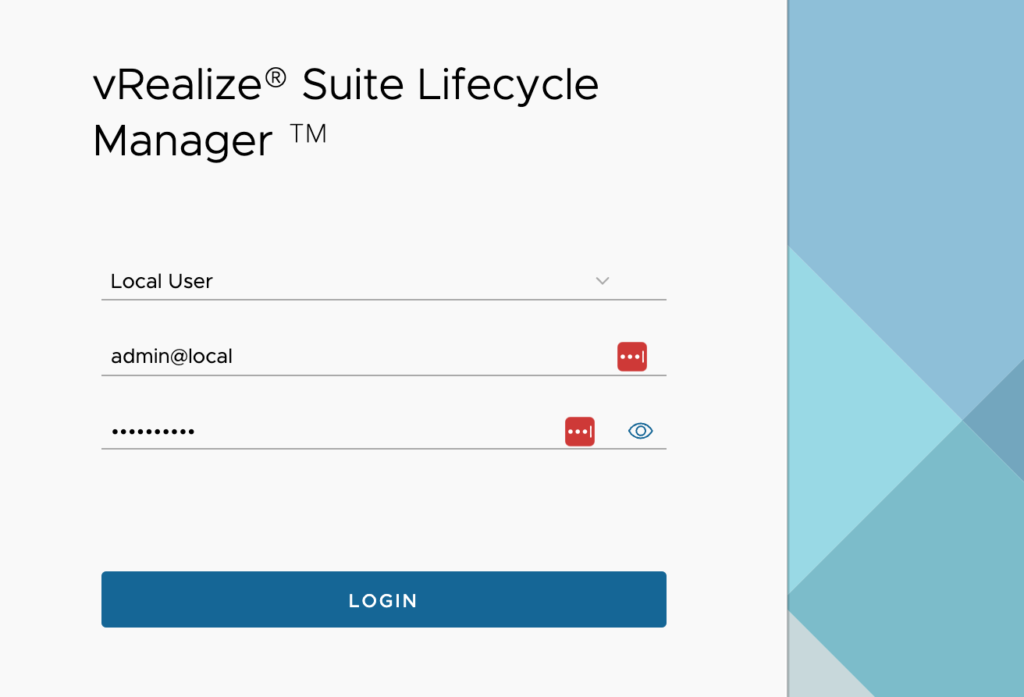
Begin by logging into vRealize Suite Lifecycle Manager with an account that has the permissions to upgrade the environment. I will just use the local account, admin@local, for this purpose.
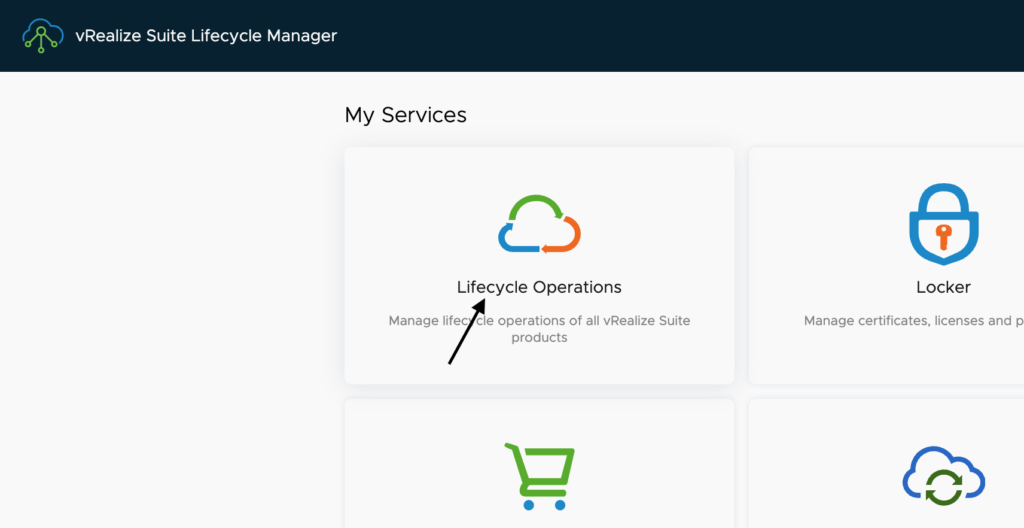
Click on the Lifecycle Operations tile as shown below.
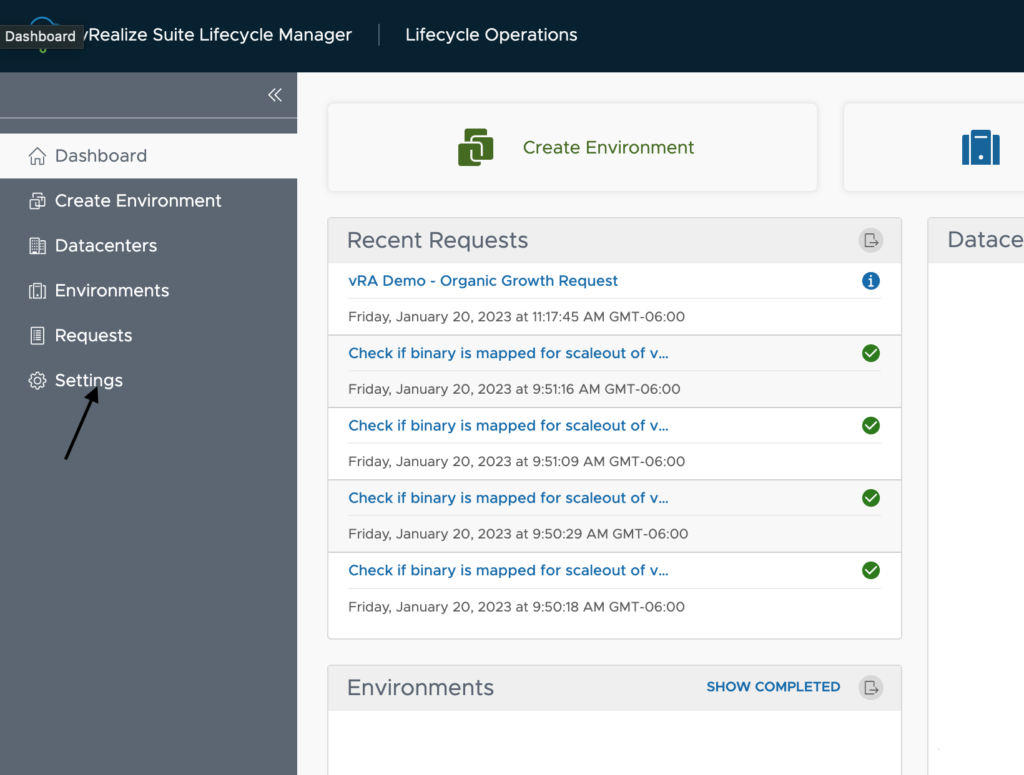
Now click on Settings in the left menu.
The first thing we will need to do is update the Product Support Pack. The Product Support Pack is a file that lists and allows us to work with different versions of software within the vRealize Suite. To gain access to the newest versions, you will need to download the latest Product Support Pack. This will not necessarily prevent you from continuing to run and work with older software versions as a Product Support Pack often supports the last 4 to 6 versions of the main applications. Often, some software rarely updates so there is just one version listed.
Go ahead and click on the Product Support Pack tile.

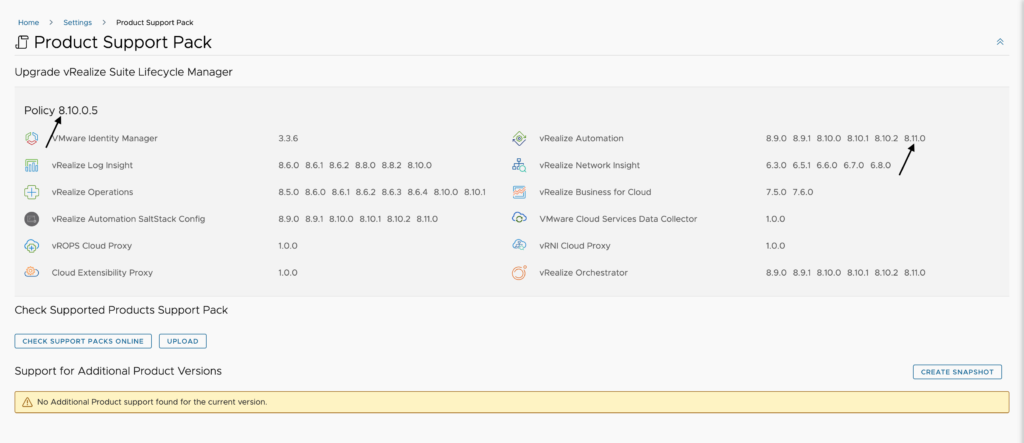
Once here, we will see the current version of the Product Support Pack that is installed which shows us all the versions of software supported with this file. To update this file, we will need to click on Check Support Packs Online.

You can click on ‘Click here’ in the green message to monitor the request of checking online. Once this is complete you can reload this page and should see a new version listed below.

Here we see that 8.10.0.5 is a newer pack and lists vRealize Automation version 8.11.0 as supported. Click on Create Snapshot to snap the vRealize Suite Lifecycle Manager appliance before making changes, then go ahead and click Apply Version.

Once the new file is downloaded and installed, vRealize Suite Lifecycle Manager will reboot. During this time, you will see a screen like the below image. This will auto refresh, so we can just sit here and wait for the login prompt to come back up. For me, this took about 8 minutes.
During this waiting period, you may see a prompt pop up asking if you would like to share feedback. You can safely close this or choose to click next and share something with VMware.
Once we are back and logged in to vRealize Suite Lifecycle Manager, we will be taken back to the Product Support Pack page, where we see the new version listed and that it supports vRealize Automation 8.11.0.
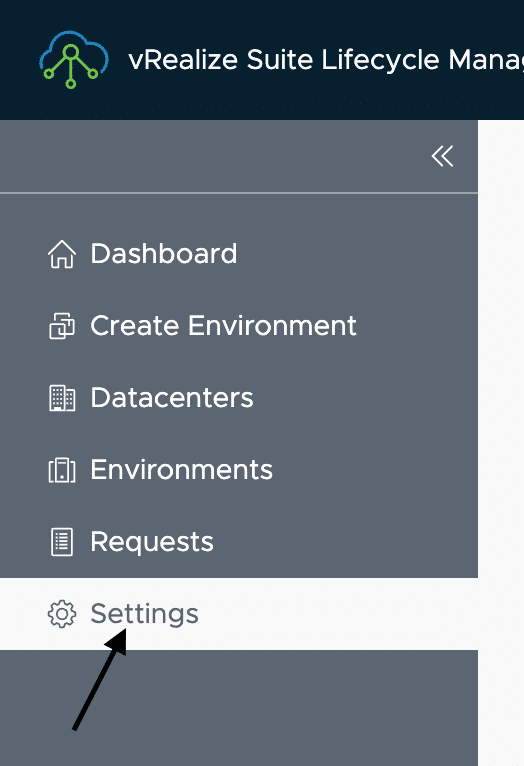
Now, let’s click on Settings again in the left menu.
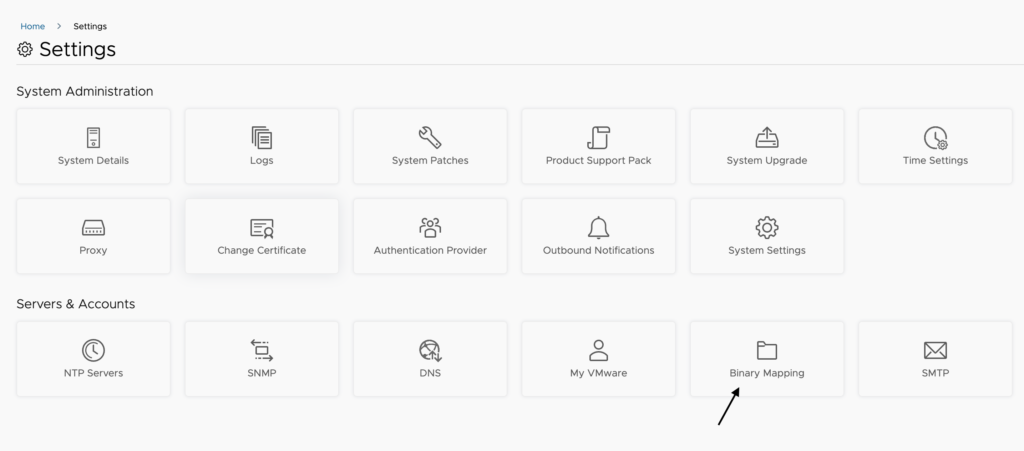
To grab the new bits from VMware for vRealize Automation 8.11.0, click on the Binary Mapping tile.
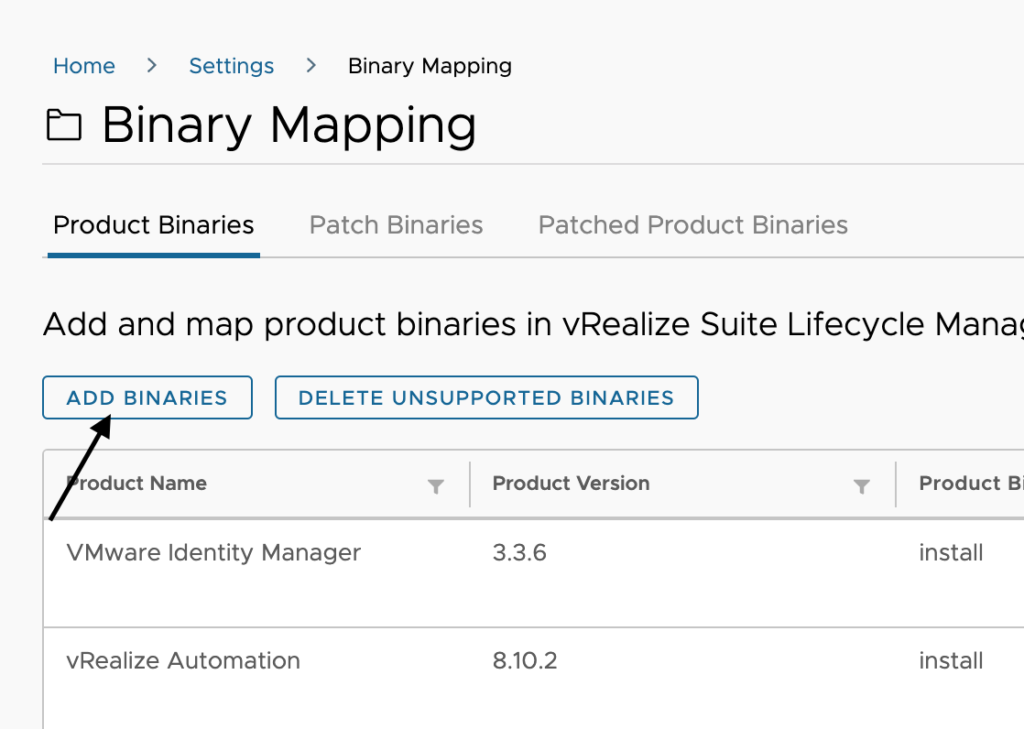
On this screen, click on Add Binaries.
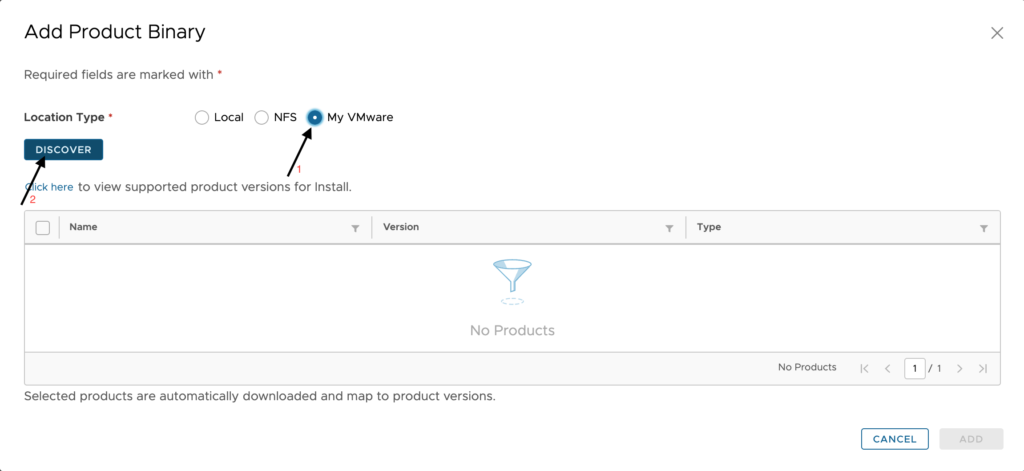
I am choosing to check My VMware for new versions of the software. If this appliance does not have internet access, you can download the update repos from vmware and upload them to vRealize Suite Lifecycle Manager or place them on a NFS share and map to it from here.
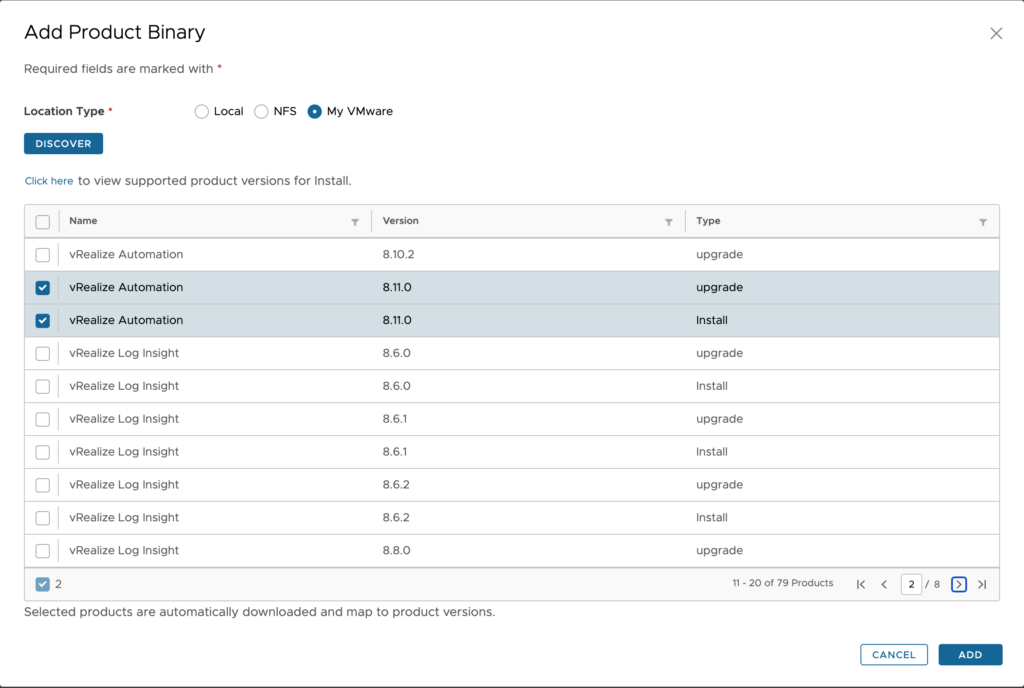
After you click Discover, My VMware is scanned for software versions published and then you select what you would like to download into the local repository. I am choosing the upgrade and install options so that I can not only upgrade my existing deployment but can deploy additional instances of vRealize Automation 8.11.0 if I would like to. Once you have selected all the software you’d like, click Add.
You may ‘Click here’ to watch the requests while they download the files. Download times were another 8-10 minutes for me but are dependent on your internet speeds.
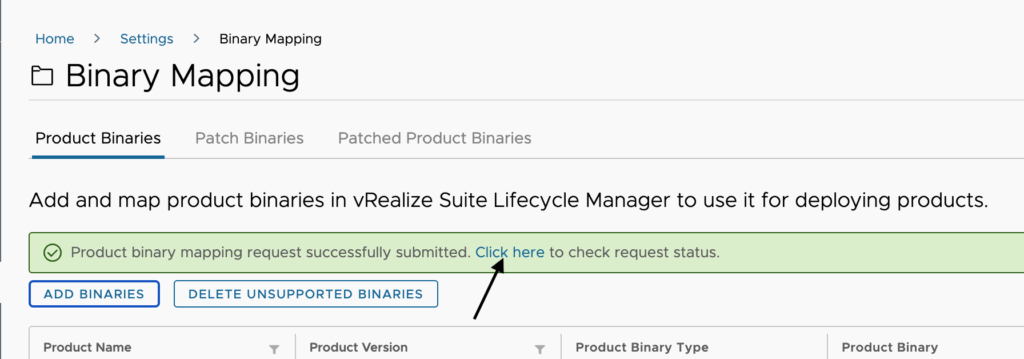
Once the request has completed as seen below, we can now begin the process to upgrade our vRealize Automation environment.

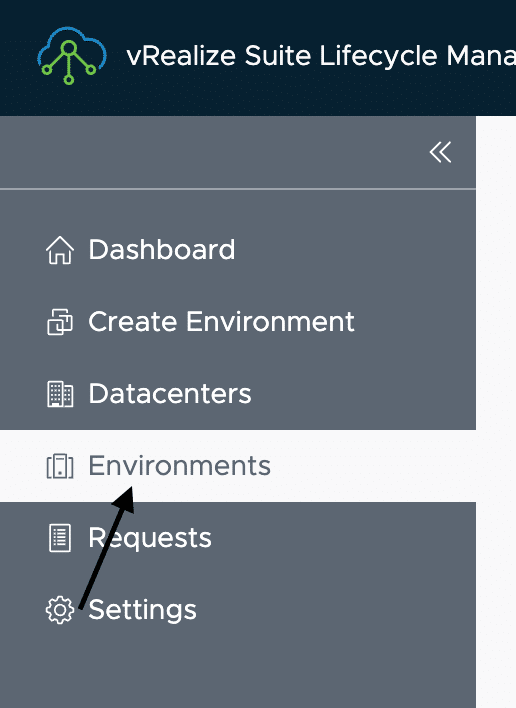
In the left menu, click on Environments.
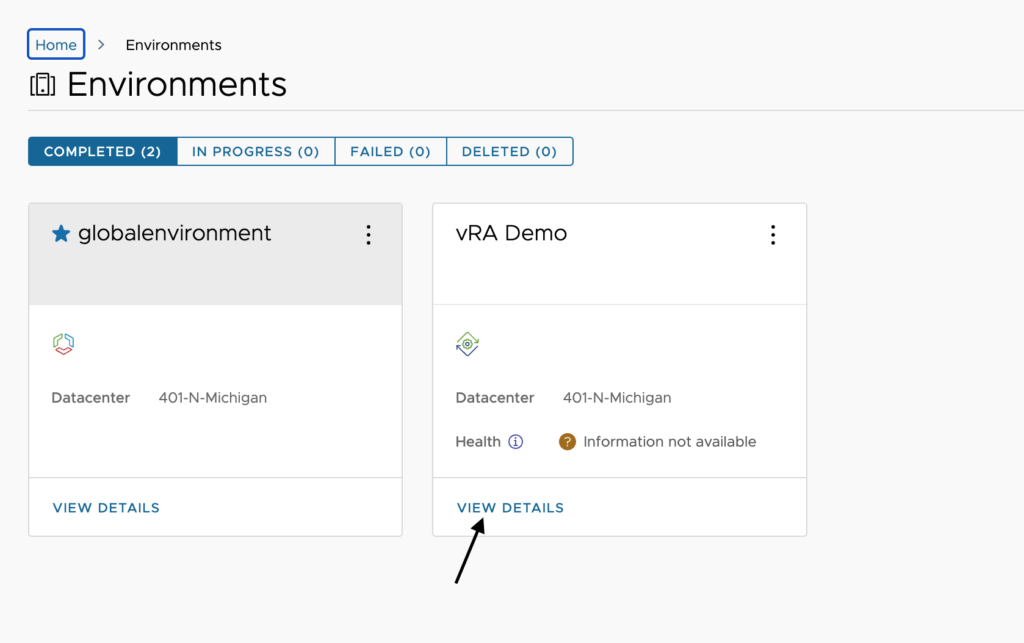
Click on View Details for your environment containing vRealize Automation.
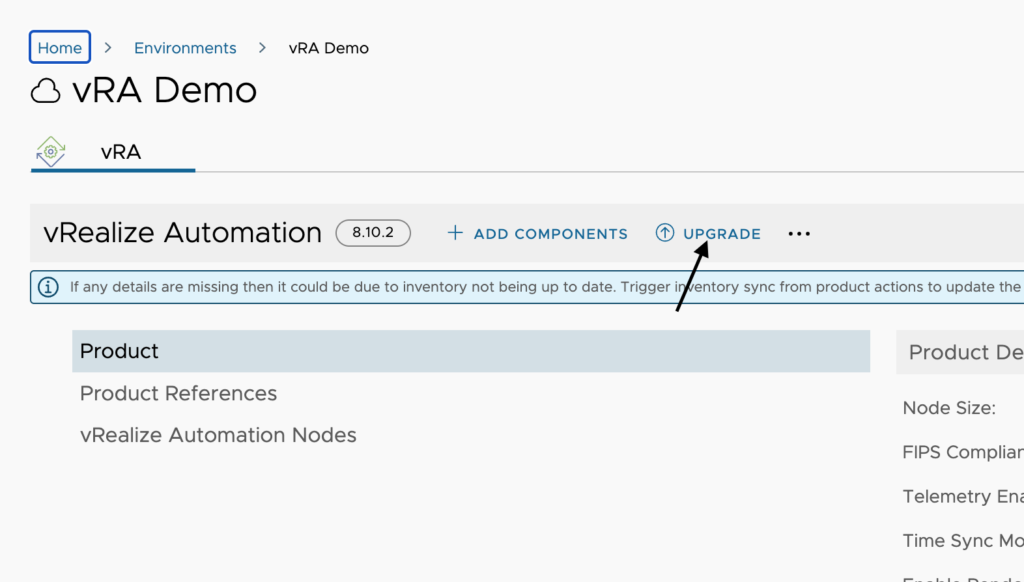
You should now see that you can click on Upgrade. If you have installed additional vRealize Suite products into this environment, you will need to make sure that you have selected vRA underneath the environment name so we can make sure we are working with the correct application.
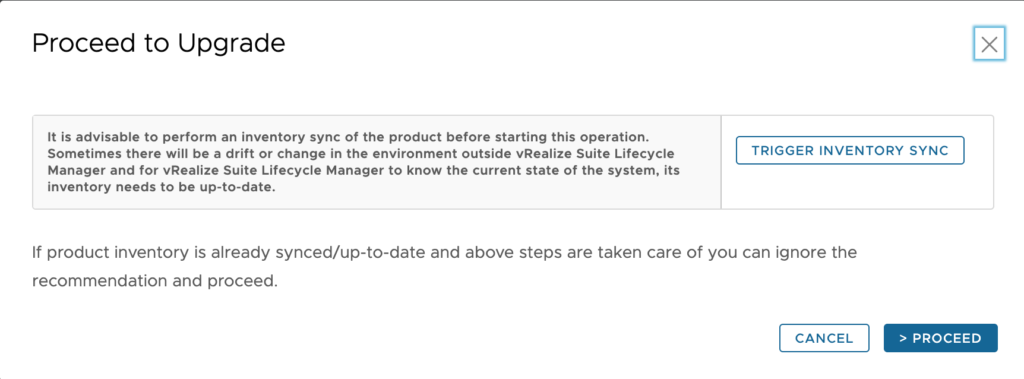
If you have had your environment for a while, it is a good idea to Trigger Inventory Sync. This only take a minute or two so you should go ahead and do it. I had just built my environment a couple days prior, so I chose to skip this step to save a little time. Click proceed when you are ready.
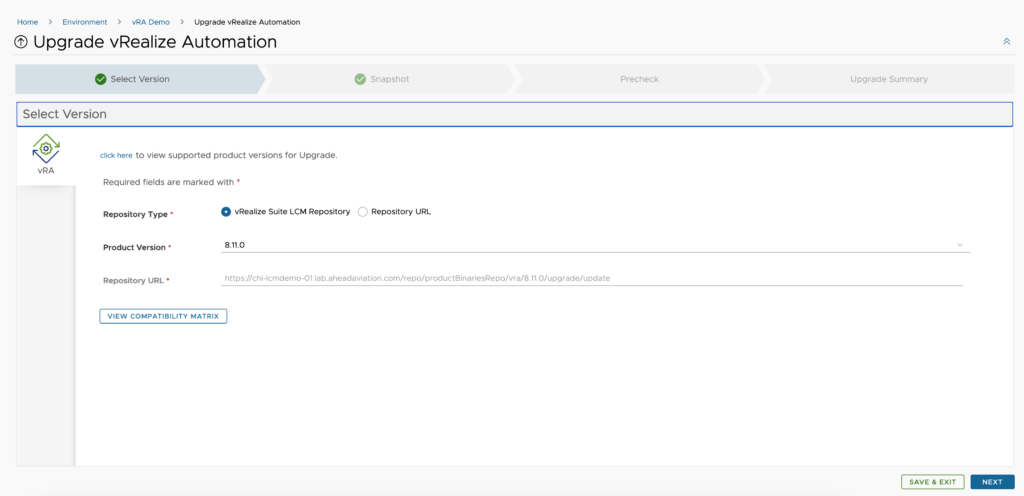
Select that you are using the vRealize Suite LCM Repository and choose the version to upgrade to. In our case this is 8.11.0, then click Next.
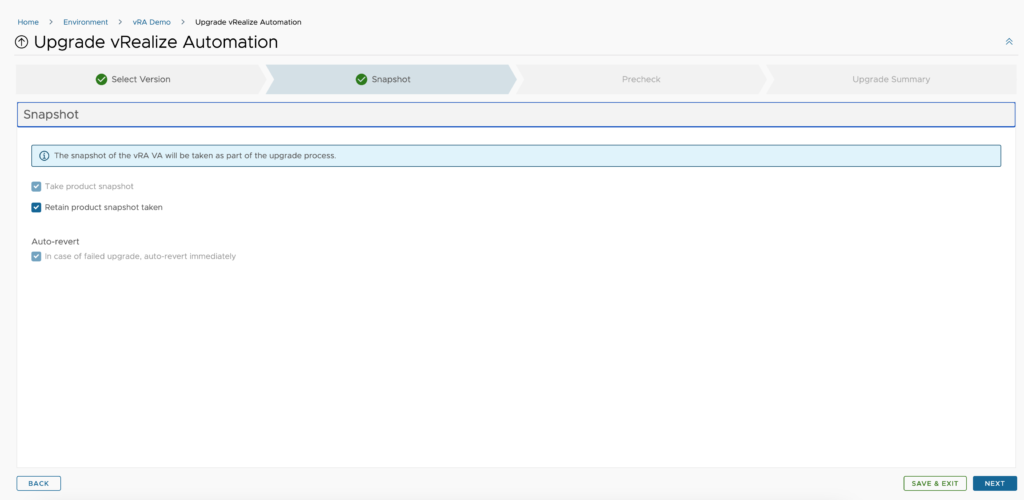
Choose whether to retain the snapshot after upgrade. I often do this especially with the latest released versions as who knows what may or may not work properly. Click Next when you are ready here.
Click Run Precheck. This will run a series of tests to validate some basic things before attempting the upgrade. Once it is completed and there are no failures, you will be able to click Next.
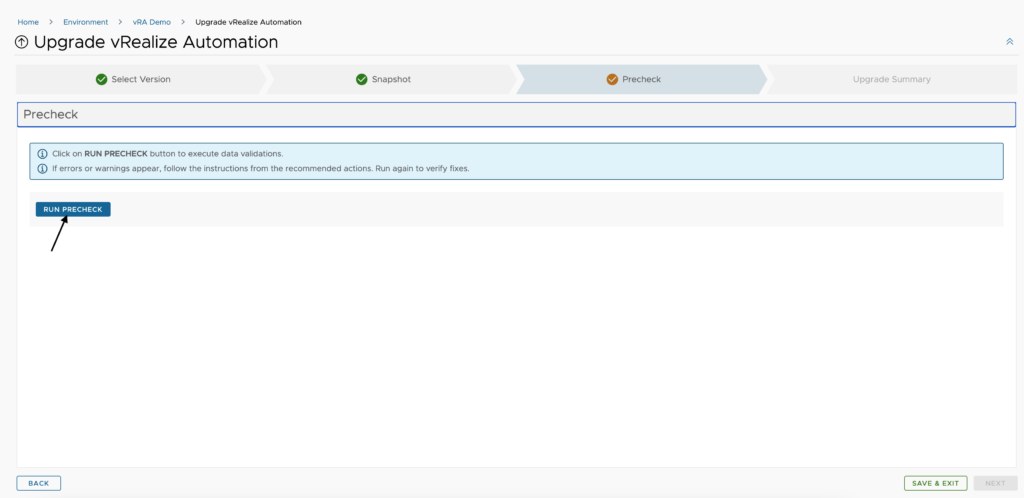
It is always a good idea to look at the VMware documentation for hardware requirements. There are times where additional disk space is required or even more CPU and memory to maintain proper performance. Once you have validated that you meet the new requirements, Check the box, and click Run Precheck.

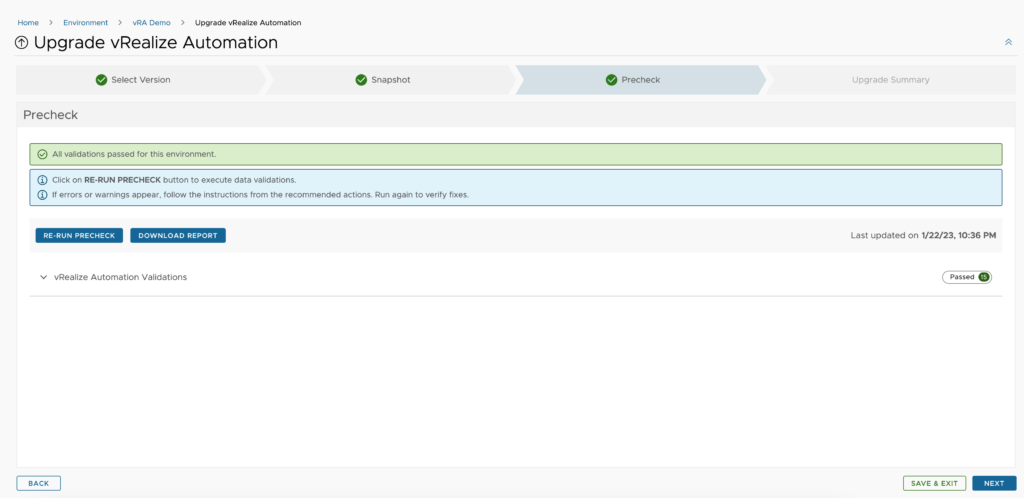
Once you receive the message stating that all validations passed for the environment, as shown below, you will be able to click Next.
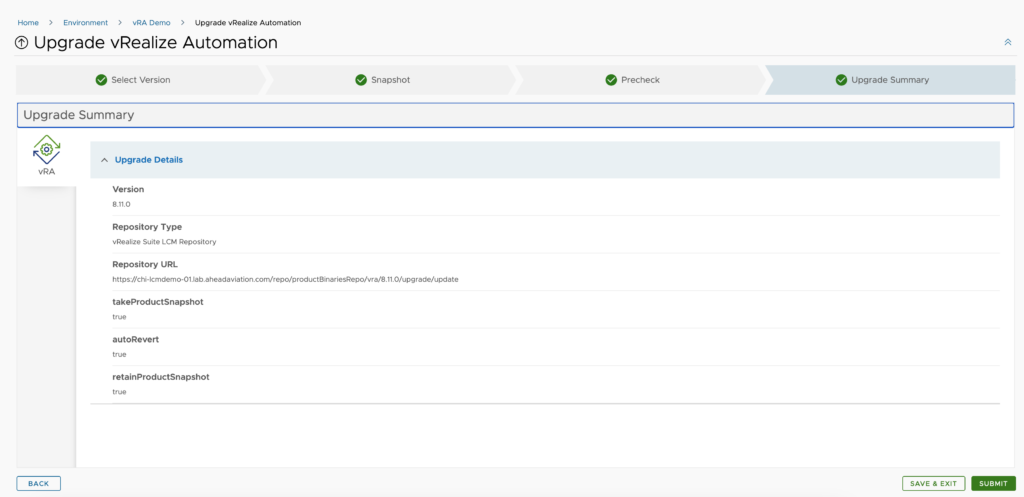
We can go ahead now and review the Summary of our upgrade. Once you are comfortable with your selections, mostly around snapshot retention and that you are ok with any prechecks that were skipped if any, go ahead and click Submit.
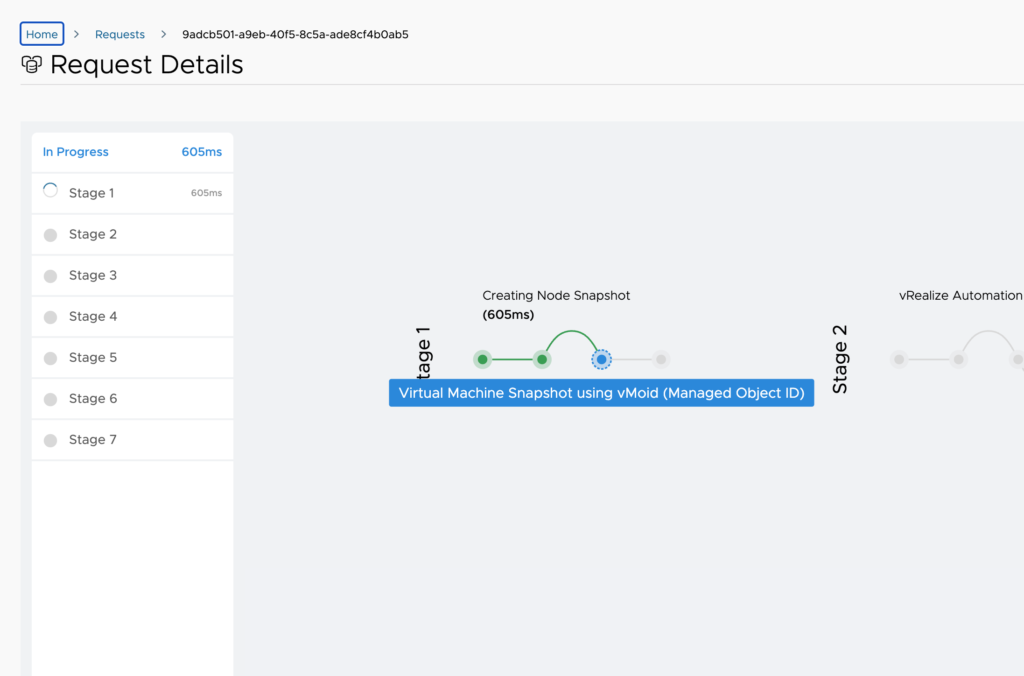
Now we get to watch the trace of the upgrade process. This will take quite some time, so you may as well grab a coffee or even a meal.
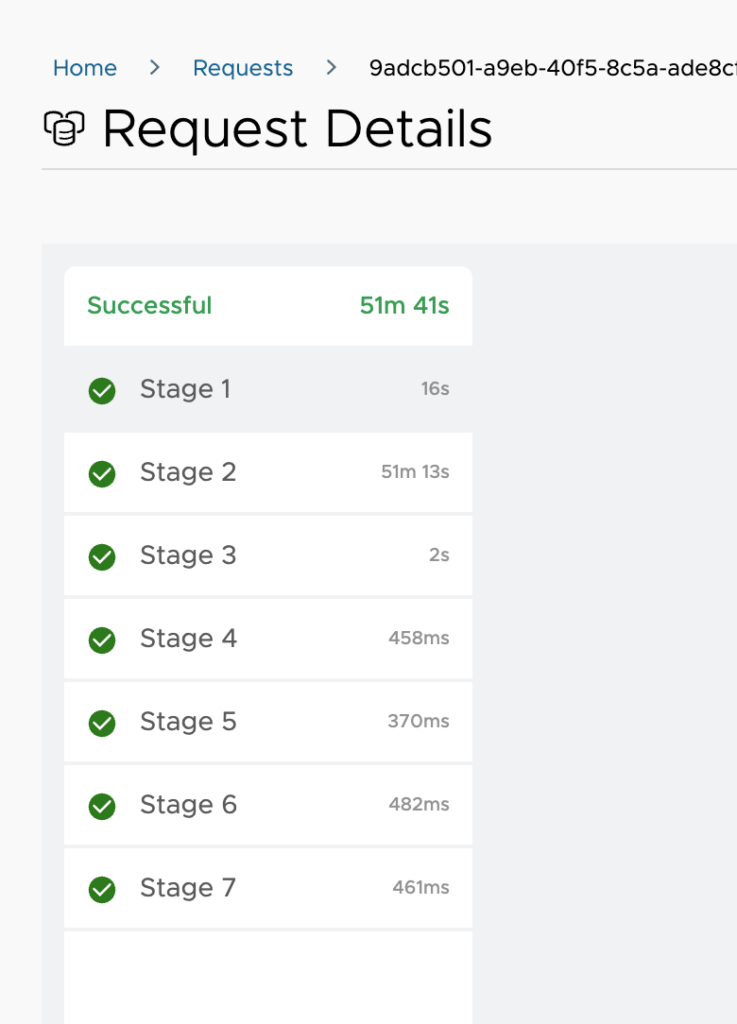
Yep, as we can see this took me almost 52 minutes to complete. I should have grabbed that sandwich.
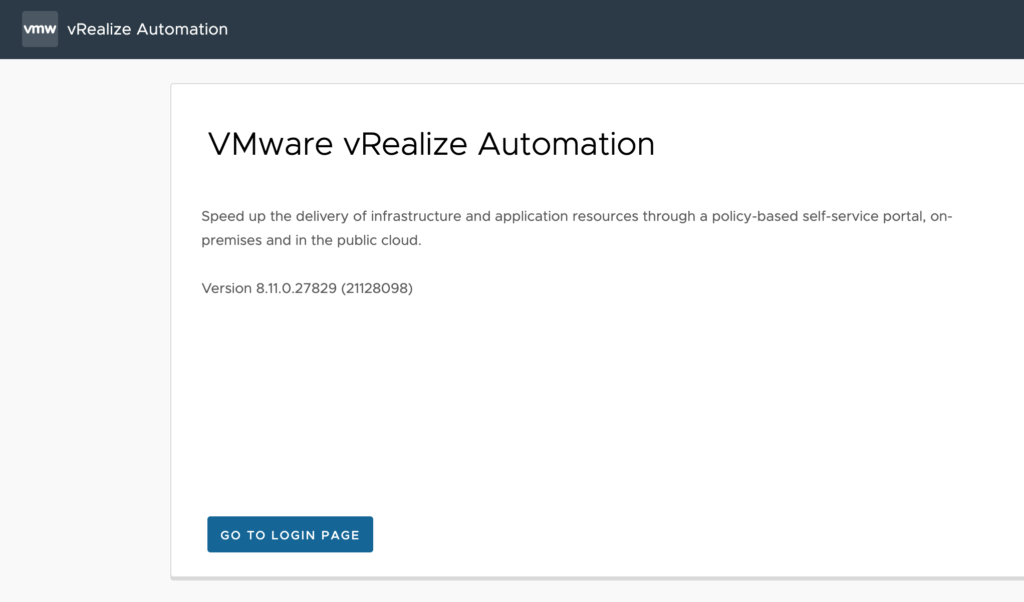
Now, let’s go log in to vRealize Automation and see the version that is running as shown below.


Leave A Reply