The vRealize Automation easy installer will be deploying 3 separate applications in your environment, vRealize Suite Lifecycle Manager, VMware Identity Manager and vRealize Automation. All versions will be the latest supported versions for the specific downloaded version. This article is written based on vRealize Automation 8.10.2 and future and past versions may have a slightly different look to the wizard, but basically the information is the same.
Applications
vRealize Suite Lifecycle Manager
vRealize Suite Lifecycle Manager is an application that helps to deploy and manage different environments of vRealize Suite applications. You can use this to install any or all vRealize Suite software components into organized environments that can later be managed collectively for upgrades and patching.
The easy installer that you will download to install vRealize Automation will install and configure vRealize Suite Lifecycle Manager first. This application is a standalone virtual appliance and as of now does not have the ability to be deployed as an HA cluster.
VMware Identity Manager
VMware Identity Manager is the application that provides all identity access management for the vRealize Suite of applications. It can integrate into your active directory or other LDAP directories to assist in authentication for different applications. This is the second application to be installed with the easy installer but can only be deployed as a single node with different size options during this easy installer. If you would prefer to scale out rather than scale up, then you need to skip the install of VMware Identity Manager and build a cluster later. You are also allowed to import an existing single node or clustered VMware Identity Manager during the easy installer.
The below VMware Identity Manager deployment scenarios are supported from the Lifecycle Manager UI:
- VMware Identity Manager deployment with custom infrastructure configuration. For example, deploying VMware Identity Manager in a different vCenter, different network etc.
- VMware Identity Manager deployment in cluster mode
- VMware Identity Manager deployment with custom certificate. The easy installer only supports VMware Identity Manager deployment with self-signed certificate
- Import of VMware Identity Manager from a different vCenter
If you are to skip the install of VMware Identity Manager, you will not be allowed to install vRealize Automation at this time as that installation requires an active Identity Manager to integrate with.
vRealize Automation
vRealize Automation is the automation and orchestration application of the vRealize Suite. This is the whole reason we are deploying all this stuff and can be deployed as a single node ‘Standard Deployment’ or a 3 node ‘Clustered Deployment’. Both the standard and clustered deployment options allow for size selection “scale up” configurations. When deploying as a clustered deployment, you will also need to supply the load balancer information. Supported load balancers with documentation provided in the Prerequisites section below are NSX-V/T, F5 Big IP LTM, Citrix ADC (Netscaler ADC) and AVI Networks.
Load Balancer details needed for the wizard:
- Load Balancer IP address
- Load Balancer Hostname
- Is SSL terminated at the load balancer?
Prerequisites
Now that we know a bit about our options for our design, lets cover the actual prerequisites for each component.
Sizing Requirements
| Requirements | vRealize Suite Lifecycle Manager |
| Total Disk Size | 78 GB |
| Virtual CPU | 2 |
| Memory/RAM Size | 6 GB |
| Requirements | VMware Identity Manager | |||
| Medium | Large | Extra Large | Extra Extra Large | |
| Total Disk Size | 100 GB | 100 GB | 100 GB | 100 GB |
| Virtual CPU | 8 | 10 | 12 | 14 |
| Memory/RAM Size | 16 GB | 16 GB | 32 GB | 48 GB |
| Requirements | vRealize Automation | |
| Medium Profile | Extra Large Profile | |
| Total Disk Size | 246 GB (Only for single node installation) | |
| Virtual CPU | 12 | 24 |
| Memory/RAM Size | 42 GB | 96 GB |
| Max. Network Latency | 5 ms between each cluster node | |
| Max Storage Latency | 20 ms for each disk IO operation from any vRA node |
Port Requirements
For a complete list of required port communication for each component check out this filtered link at VMware Ports and Protocols.
General requirements
- VMware license key (vRealize Suite, vRealize Suite Universal, vRealize Automation)
- NTP server(s)
- DNS server(s)
Appliance Requirements (including all cluster nodes)
- Hostname and FQDN
- IP address
- DNS A and PTR records
Clustered Deployment
In a clustered setup, a load balancer is required for proper functionality. Follow this load balancer guide on how to setup one of the load balancers listed above. Make sure to have this completed prior to attempting deployment as load balancer information will be required in the easy installer wizard when choosing a clustered vRealize Automation deployment.
Installation
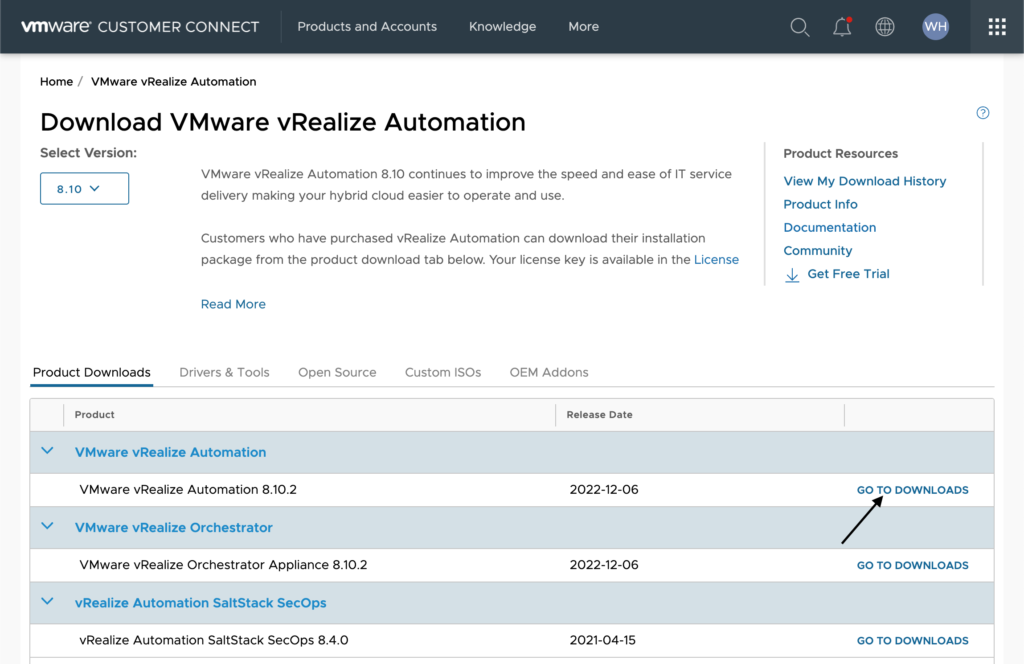
Login to the vmware.com Customer Connect portal and download the vRealize Automation installer.
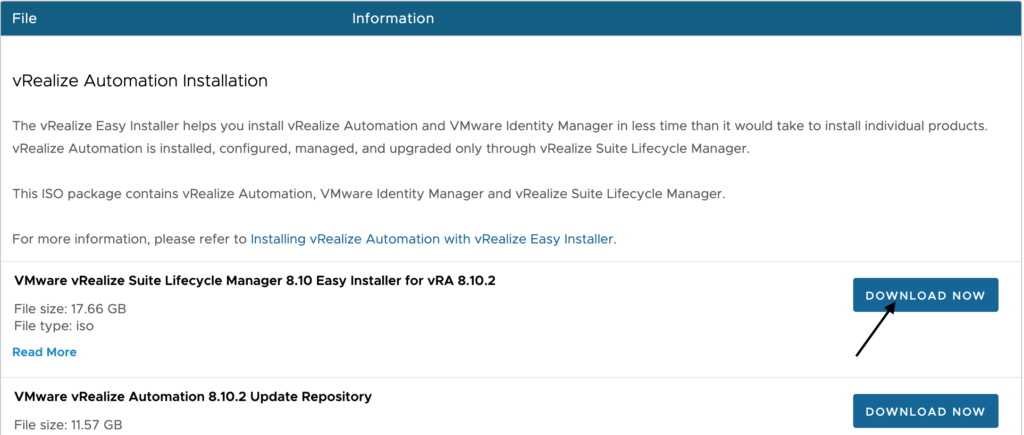
Make sure to download the VMware vRealize Suite Lifecycle Manager 8.10 Easy Installer for vRA 8.10.2 as shown below.
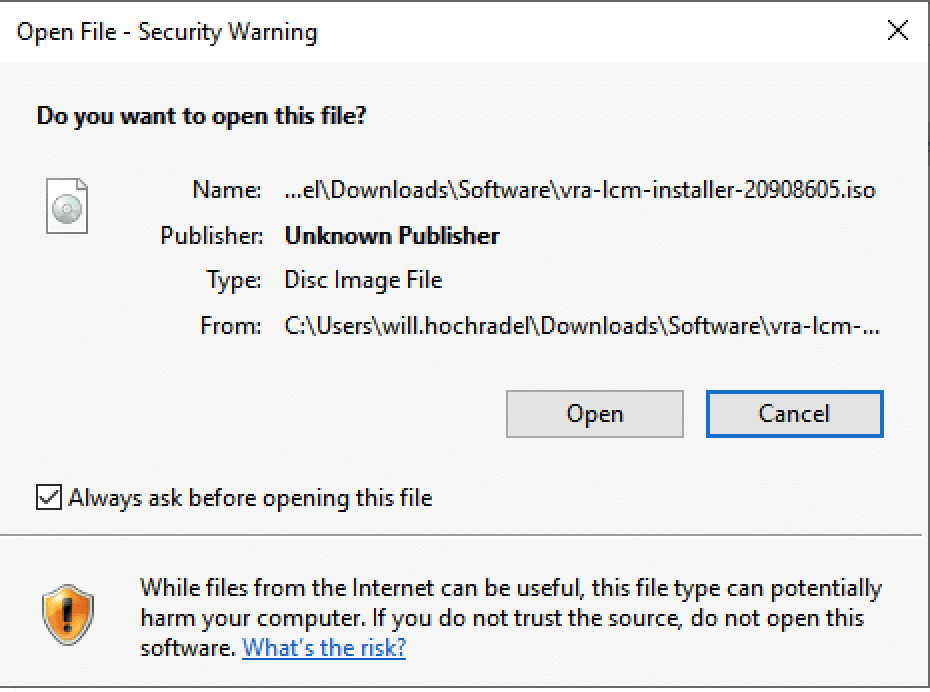
Once the file is finally downloaded, double click the ISO to mount it to your system.

Click Open at the security warning.
Once mounted, you can browse to vrlcm-ui-installer folder and see that there are different installers for Linux, Mac and Windows. Select your specific OS to proceed. I am using a Windows server to do this so I am selecting win32.
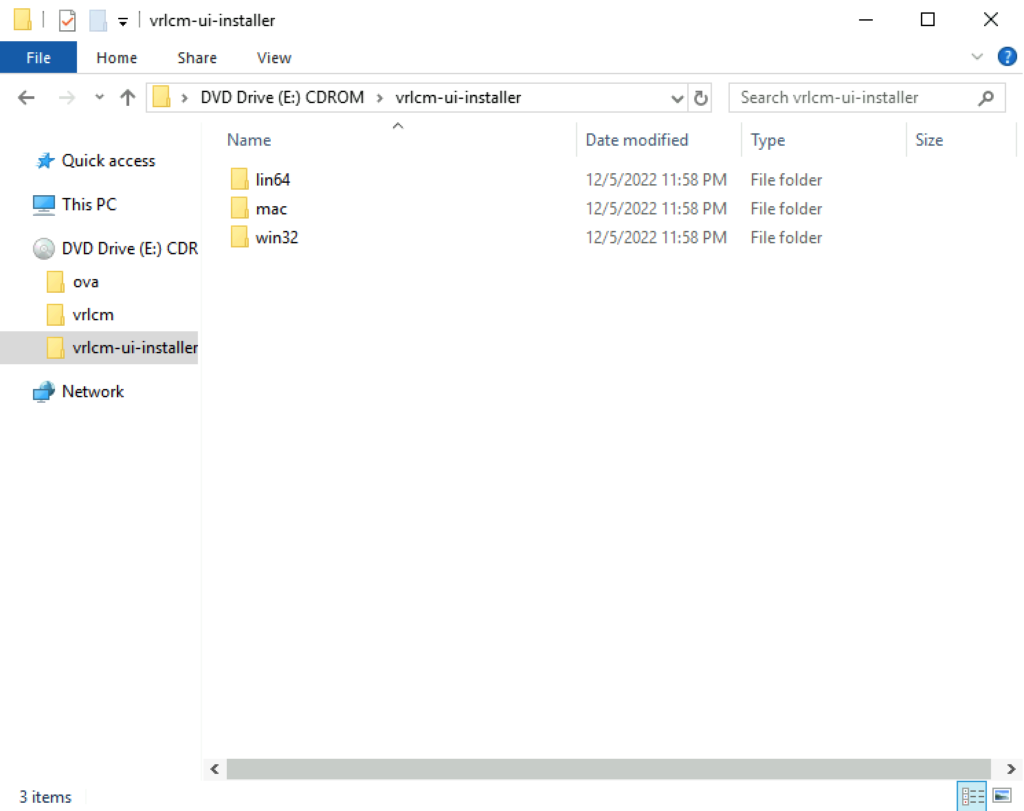
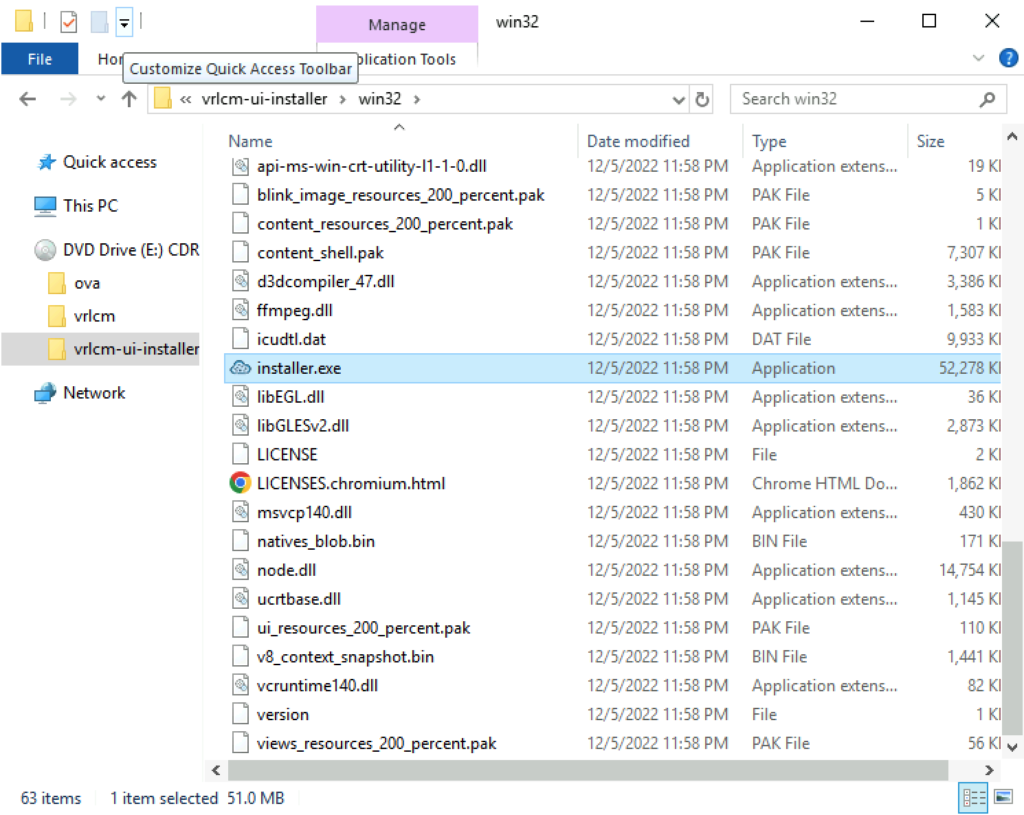
Scroll down to click on the installer.exe file to launch the Easy Installer Wizard.
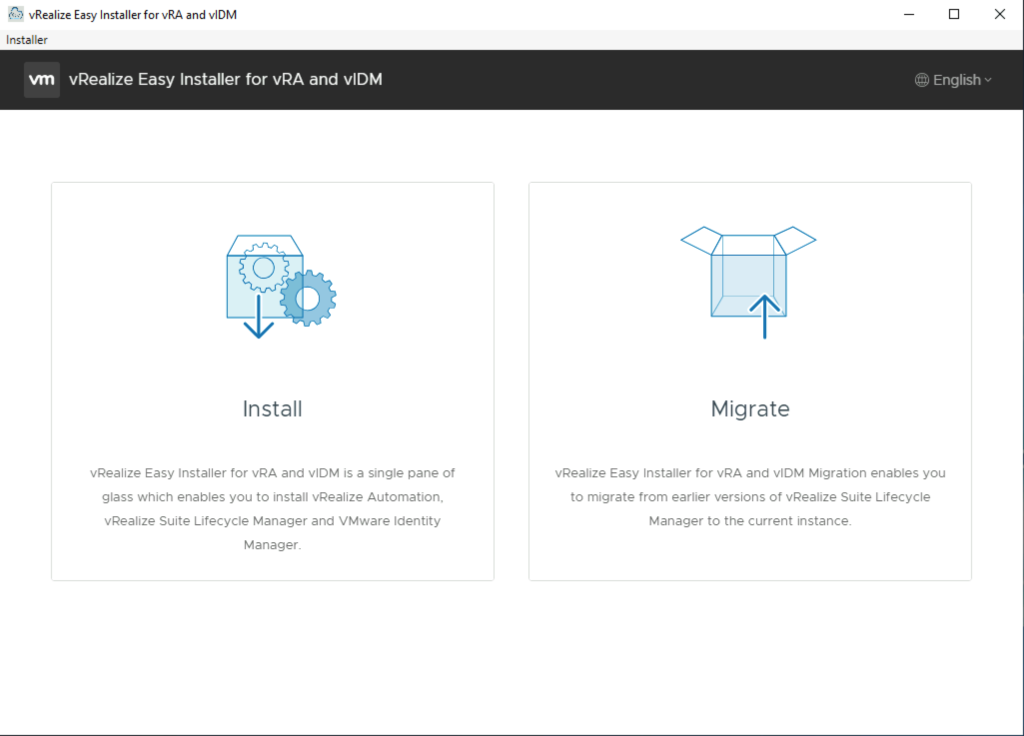
We have the choice to select Install or Migrate at the beginning of this wizard. Migrating allows us to bring in environments from one vRealize Suite Lifecycle Manager to another. For this article, we will be choosing Install to build everything brand new.
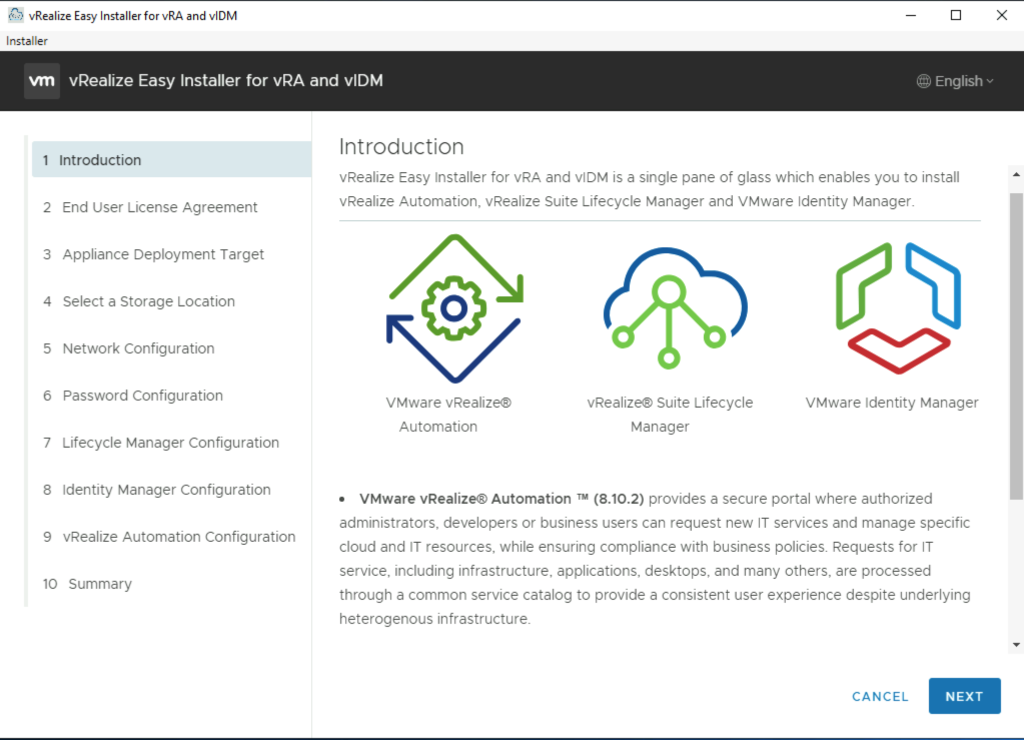
You can click through the first page as it is just explaining the 3 applications and their versions that will be installed at the completion of this wizard.
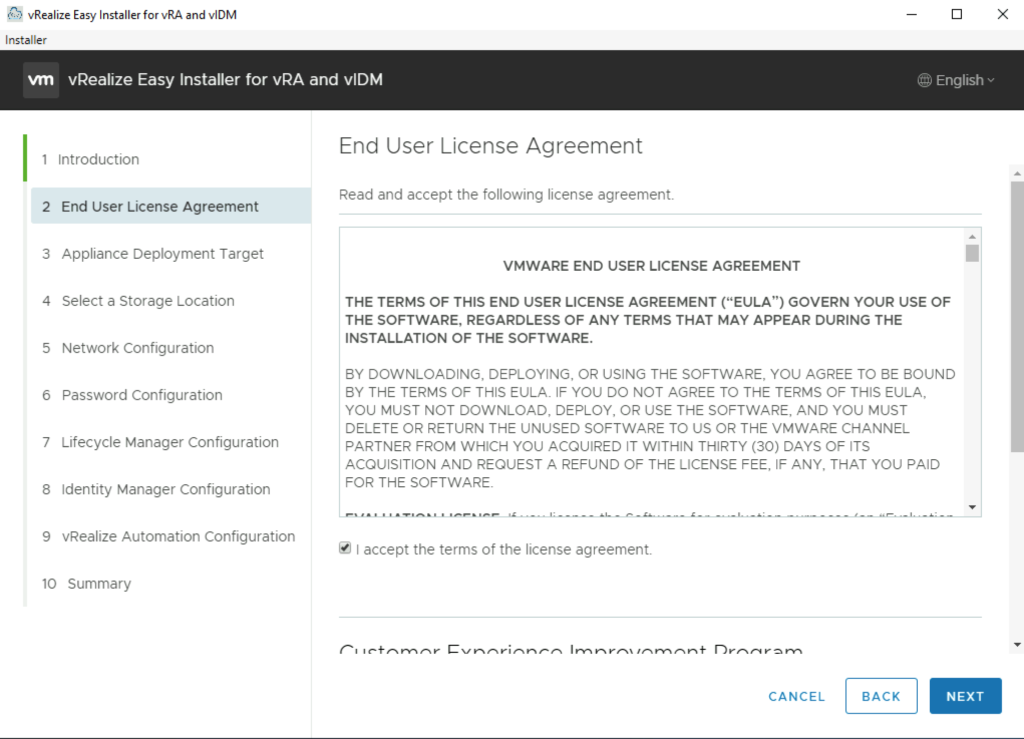
This next page, we just need to accept the EULA and choose whether to join the CEIP program. I typically uncheck this, but you may choose to leave it on. Joining the CEIP sends anonymous data about your environment to VMware so they can better understand what features are being used, what issues are being experienced and just overall how things are working for you.
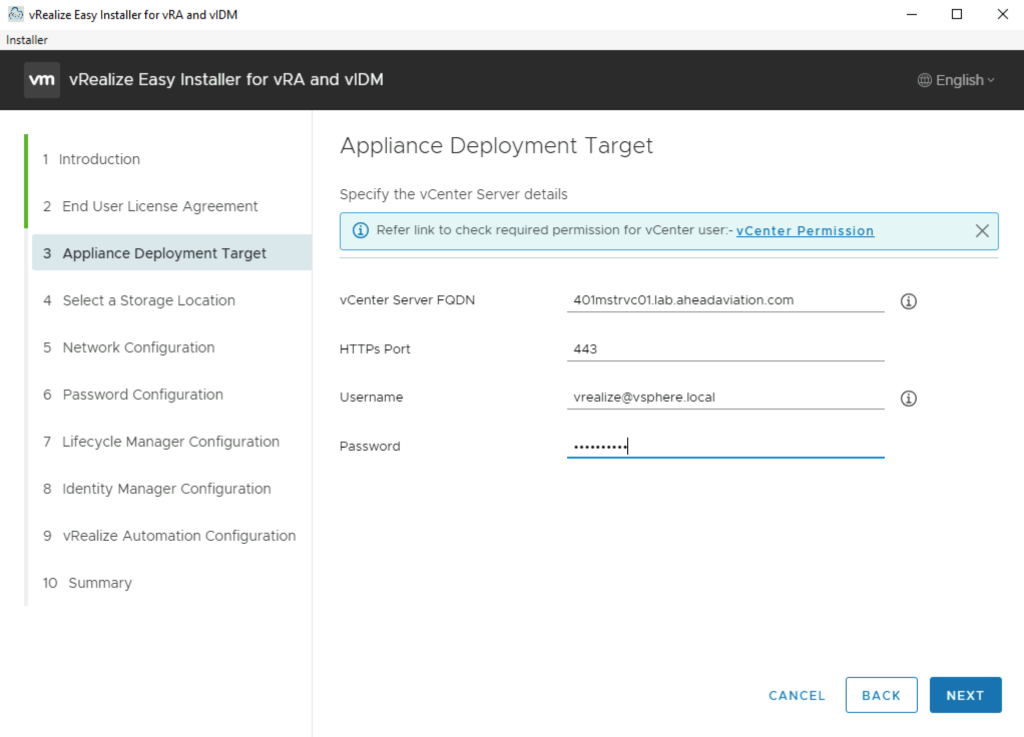
On this next page, we need to supply the vCenter information that the wizard will use to connect and deploy the appliances for all 3 applications. Go ahead and fill out the vCenter Server FQDN, HTTPS Port, Username and password. Here you will see that I am using a vsphere.local account rather than Active Directory. I made this choice so that I can avoid issues with either of these 3 applications in the future if there happens to be an Active Directory outage, locked out service account or password change requirement.
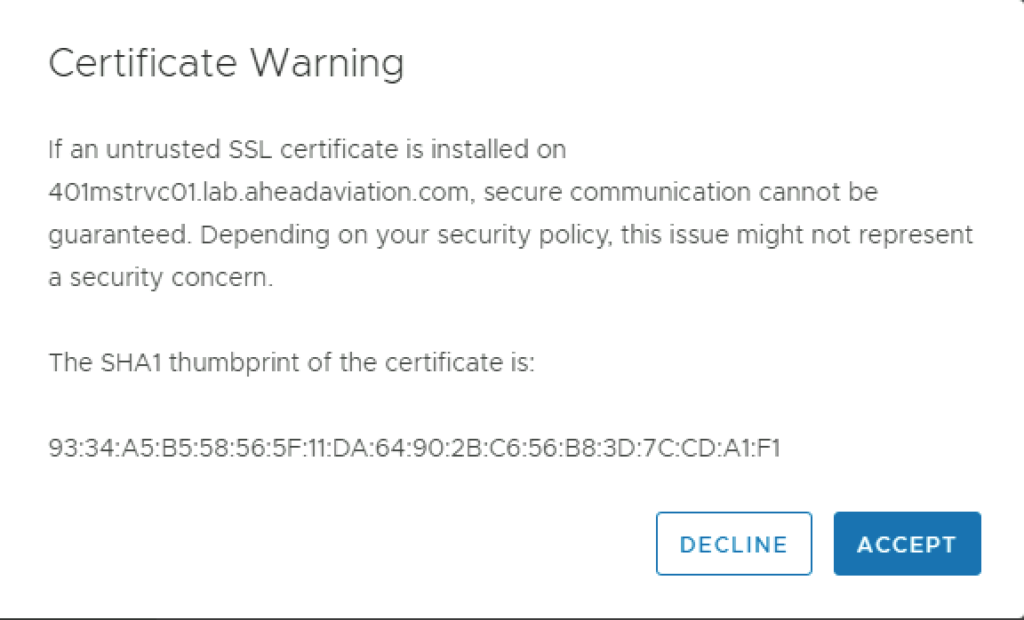
We should now see the below Certificate Warning pop up. This is the vCenter certificate that we will need to accept for connection purposes. If you are using a Globally accepted certificate on your vCenter server already then you will likely not see this message. If you do though, as I did, just accept it and move along.
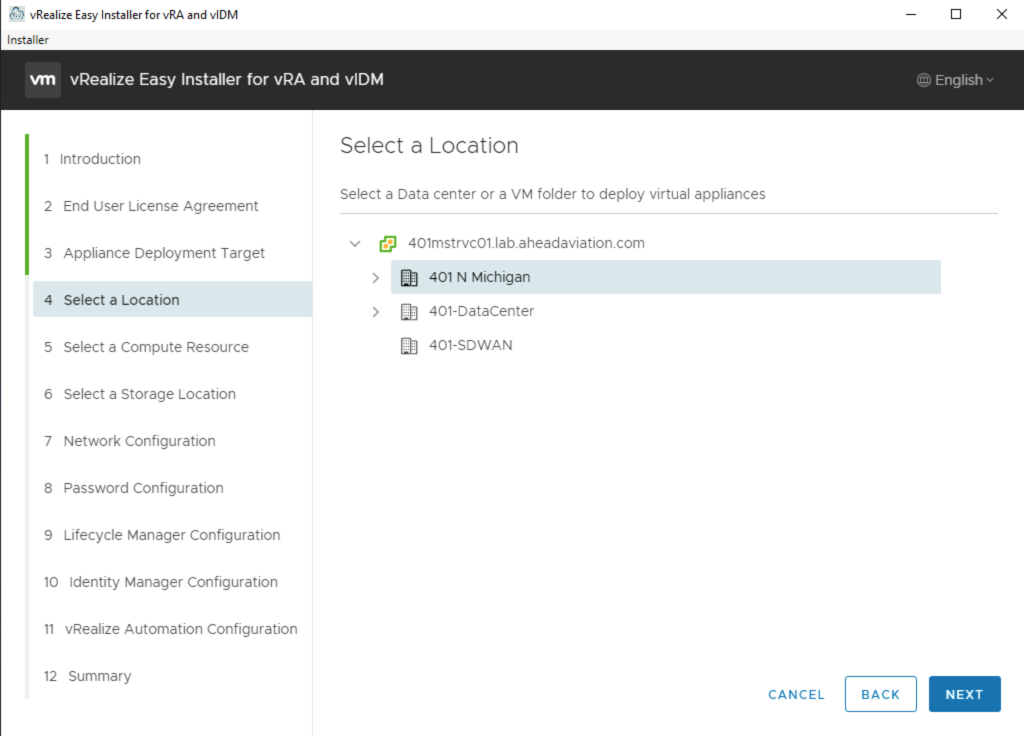
On this page we need to select a location for the appliances in vCenter. This can be the root level of the virtual datacenter as I have done, or a specific virtual machine folder. Whichever location you choose, make sure that the account you used previously to connect to vCenter doesn’t have restricted access to this folder.
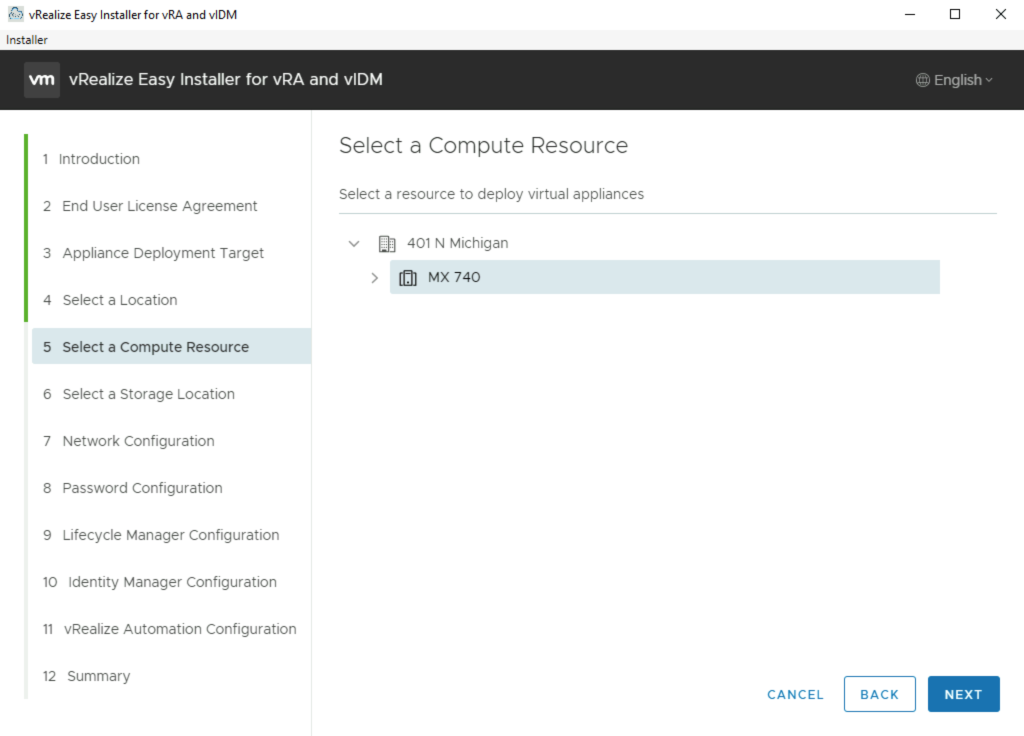
Now we need to choose the compute resources to deploy all the appliances to. This list will be filtered down based on your previous location selection, so if you are not seeing the cluster you had in mind, you may need to go back and change your location.
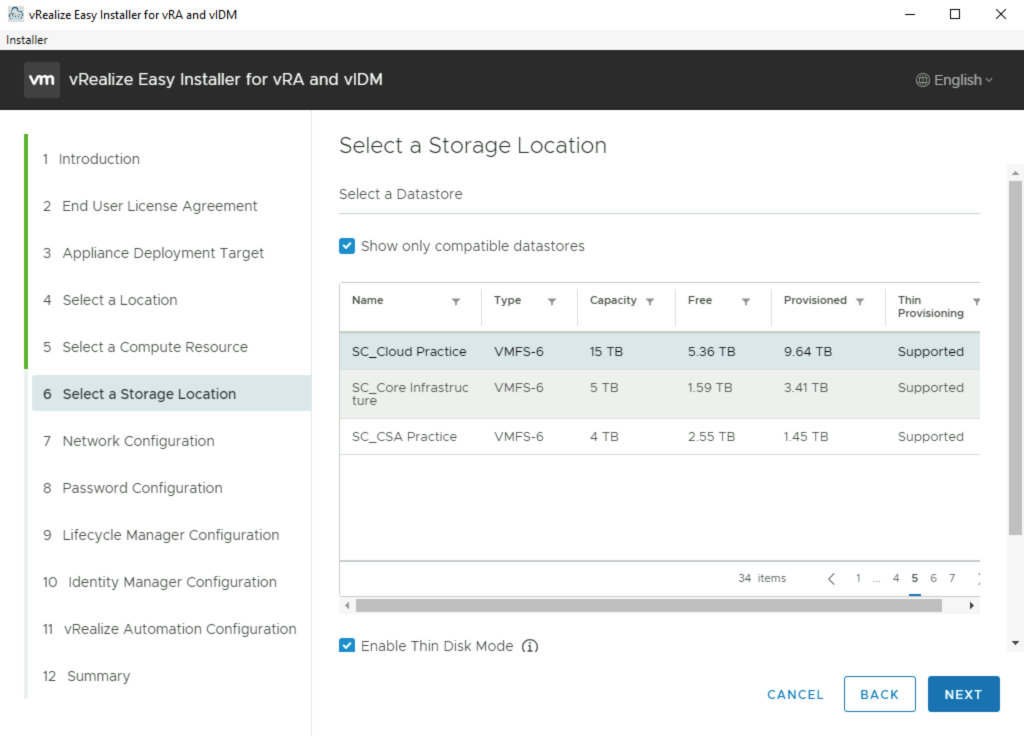
Now that we have compute out of the way, lets pick the storage. Again, this list will be filtered to only show the datastores that are seen by the host or cluster you chose previously. If you don’t see your storage after going through all the pages of the table, you may need to change your cluster selection. You can also select whether to thin provision all the appliances or not. Given that I am deploying this in a lab for demonstration purposes only, I am choosing to save my storage and use thin provisioning.
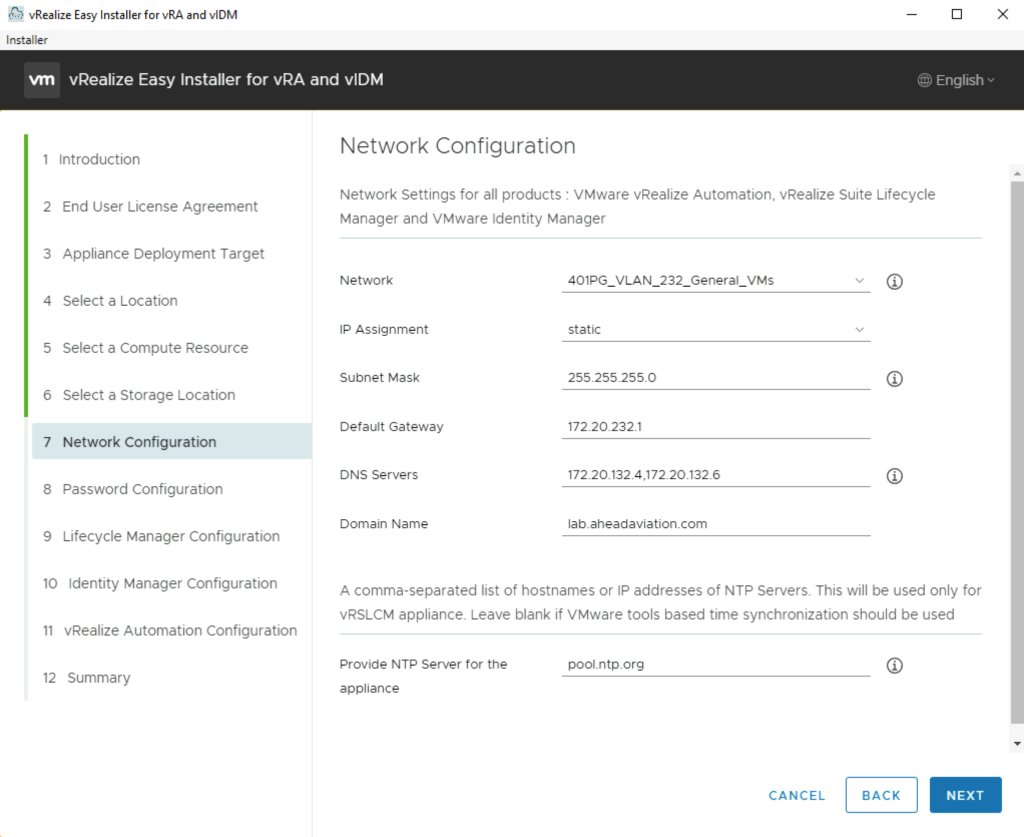
Now we need to configure the basic network details. This network information is used by all the appliances being deployed. The wizard is only able to run its deployments to one network so if you are wanting to deploy any of the appliances to a separate network you will need to skip the deployment of that appliance at a later stage of this wizard. If you are wanting to deploy the Identity Manager product to a separate network, you will have to skip both the Identity Manager and vRealize Automation later in the wizard. This is because the vRealize Automation install requires it be able to connect to the Identity Manager.
Now that we have that information out of the way, let’s go ahead and select our network from the drop down and fill in the network basics for that network and supply the NTP servers at the bottom. NTP is very important for these appliances due to their trust relationships. If time drift exceeds, in some cases even a couple minutes, then communication between the systems will not work properly and you can receive any number of errors and see many different results.
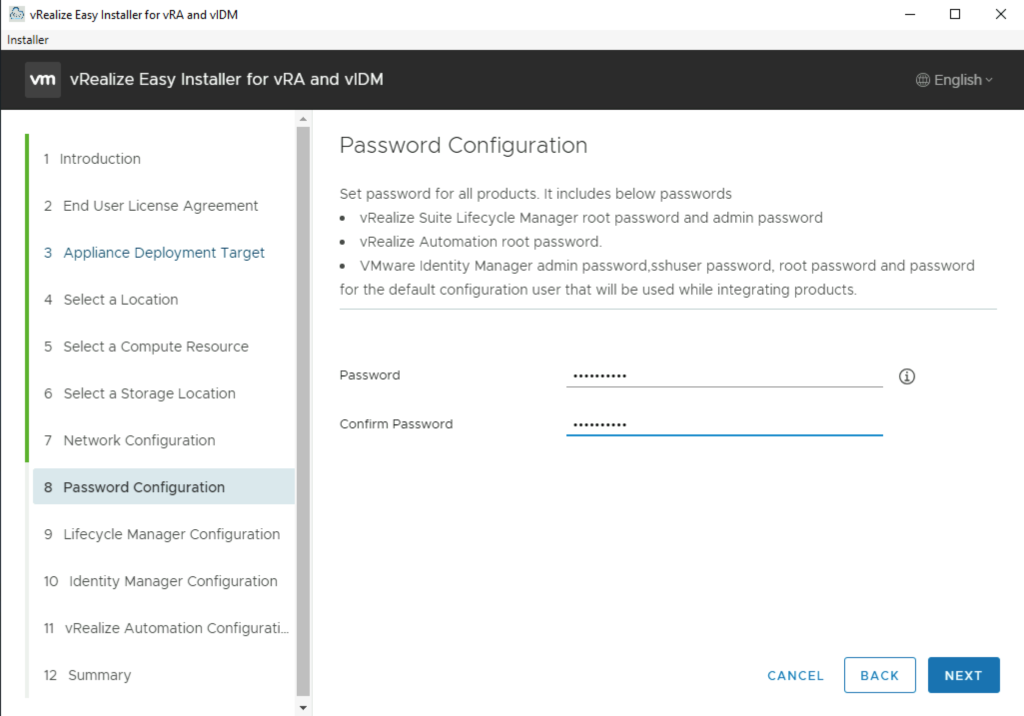
Now let’s set the password that will be used by all appliances once deployed. This will be the root and admin password for each appliance and its application. These can be changed later, but the wizard will be setting them all to the same thing.
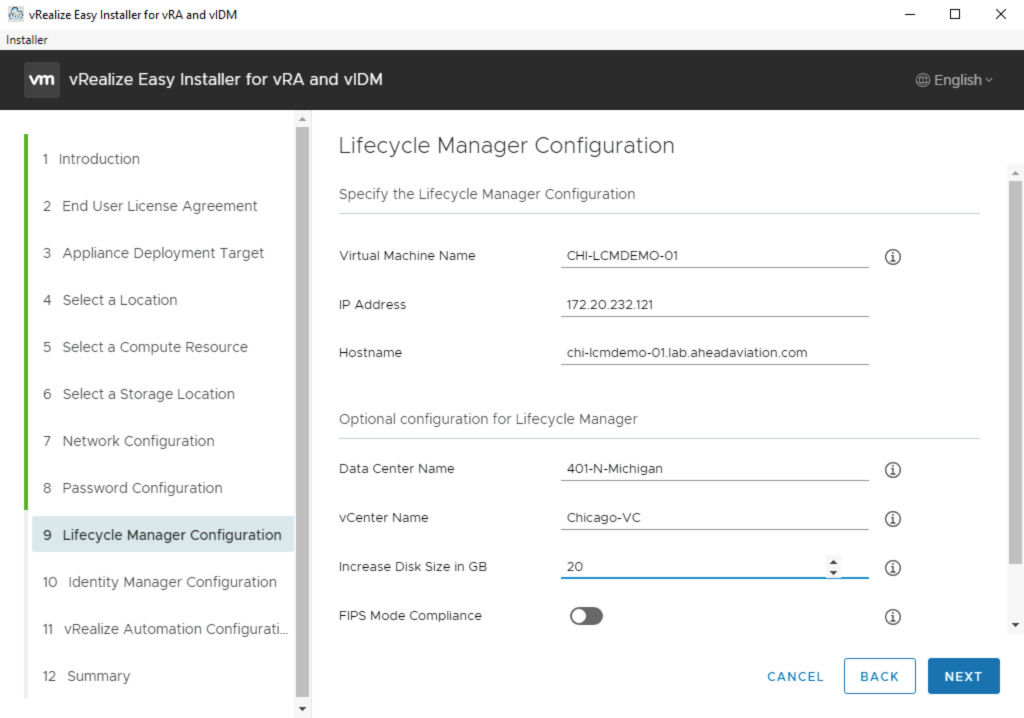
Now we can start filling out some information about the applications. We will start with the vRealize Suite Lifecycle Manager.
Configuration:
- Virtual Machine Name – Name you want for the virtual machine
- IP Address – The IP address for the appliance
- Hostname – The FQDN of the appliance.
- Data Center Name – Provide a name that signifies the location where these products are being installed. This will be marked as the datacenter for these products in vRealize Suite Lifecycle Manager
- vCenter Name – Friendly name for the vCenter where we are installing these products
- Increase Disk Size in GB – For a small environment, you can leave this empty as the default amount of storage is fine. If you plan to maintain several versions of the bits per product or all the bits for the vRealize Suite, I would go ahead and add additional storage. I chose 20GB to be safe, but I am deploying thin provisioned so I will only use this if needed.
- FIPS Mode Compliance – Chose whether to enable FIPS compliance mode. Once this is set, you are not able to change this setting post-installation.
Next up, we get to set the configuration for the VMware Identity Manager appliance.
Configuration:
- Virtual Machine Name – Name you want for the virtual machine
- IP Address – The IP address for the appliance
- Hostname – The FQDN of the appliance.
- Default Configuration Admin – The default here is configuser. This is the account that will be configured during installation and granted full access to all systems. I am leaving as the default since I only use this account the first time to configure other users. Also, all other blog articles will likely use and reference this account, so troubleshooting later may be easier to stick with this default.
- Default Configuration Email – Email address you want associated to the Default Configuration Admin account.
- Node Size – The default option is Medium which is 8 vCPU, 16GB RAM and 60GB Storage
- FIPS Compliance – Chose whether to enable FIPS compliance mode. Once this is set, you are not able to change this setting post-installation.
- Sync Group Members to the Directory When Adding Group – When enabled, VMware Identity Manager will synchronize all the accounts that are in the group you are adding. This can make it easier when wanting to also grant permission to an individual rather than just a group.
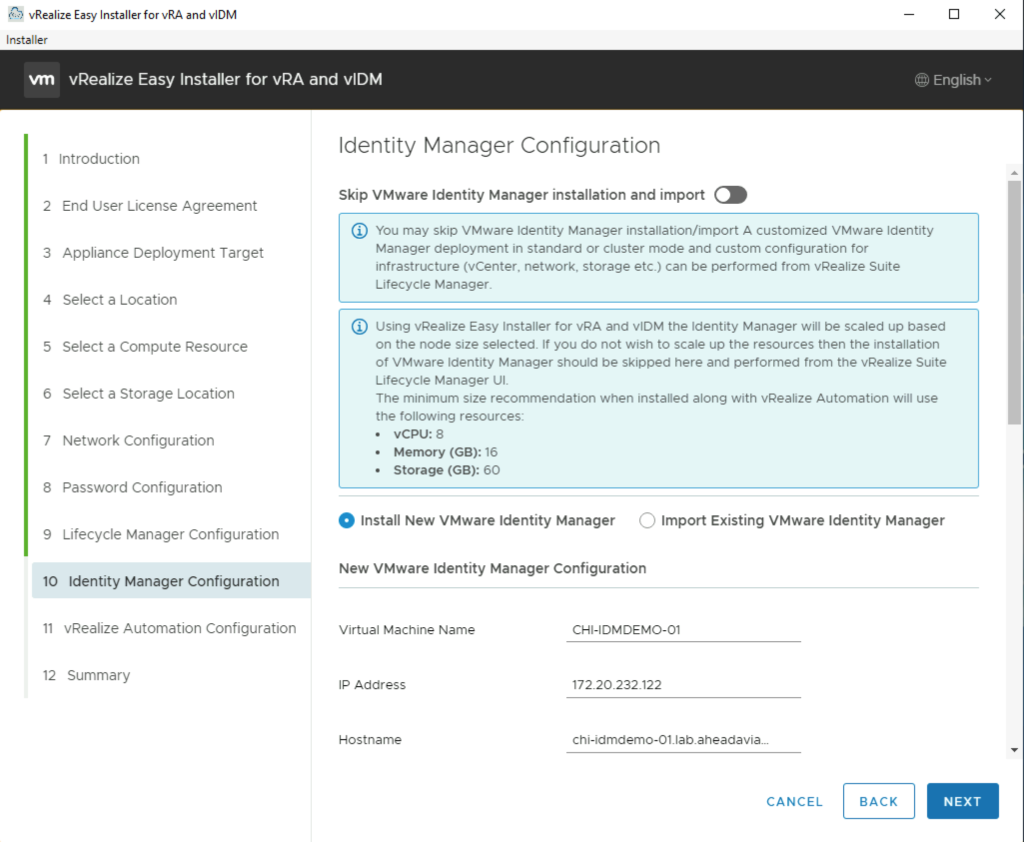
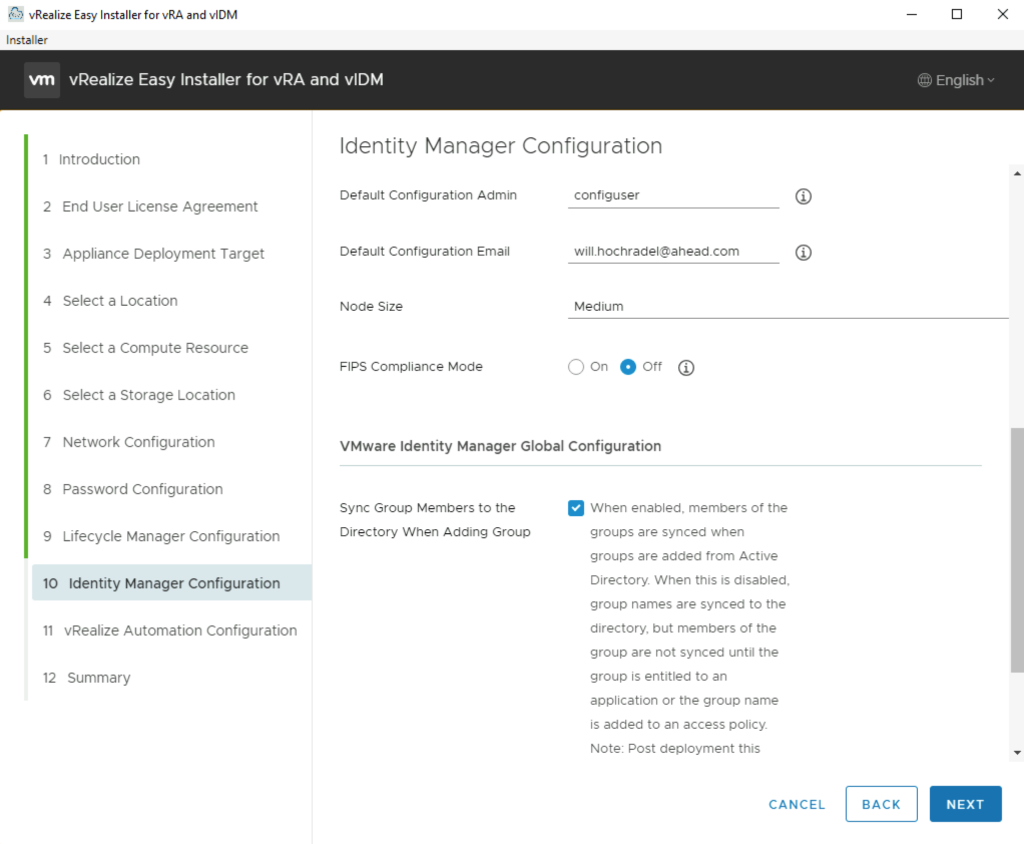
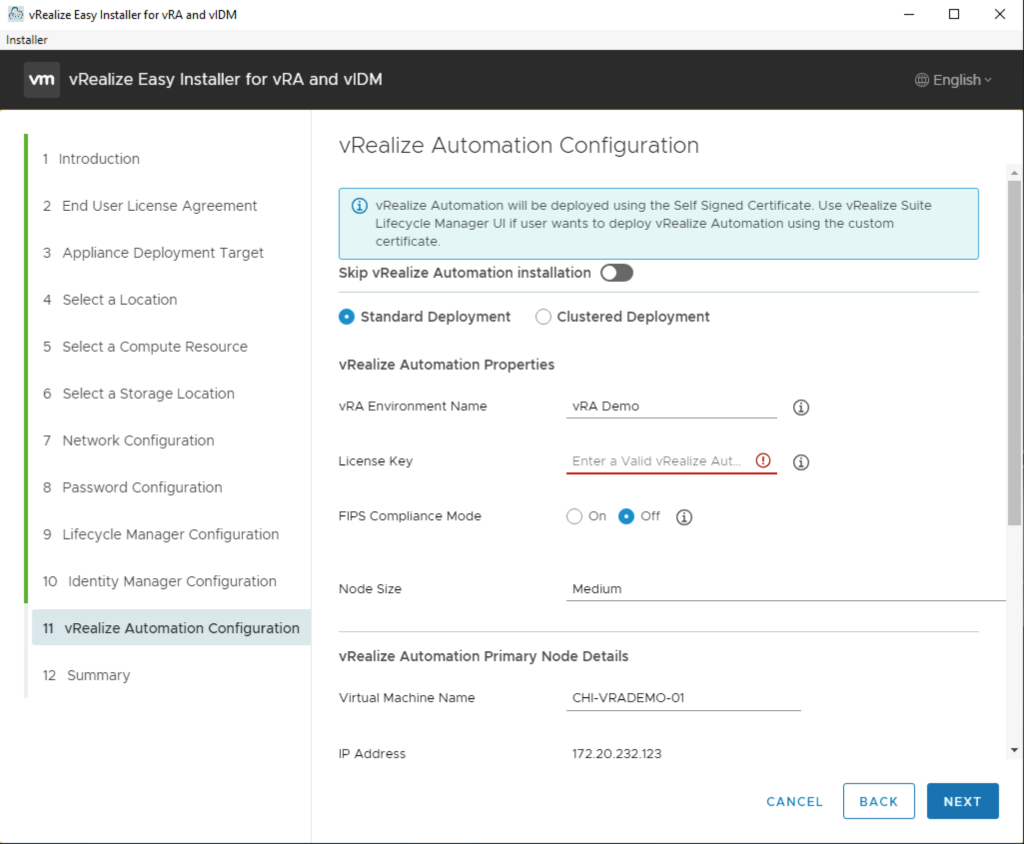
Finally, we get to configure the vRealize Automation appliance. I am choosing to deploy a Standard Deployment, but you can choose to do a Clustered Deployment (3 nodes). As mentioned at the beginning of this article, you will need to have all the load balancer information ready to go when going through the Clustered Deployment configuration.
Configuration:
- vRA Environment Name – Name you want to assign to the environment in vRealize Suite Lifecycle Manager that is created during the deployment.
- License Key – Enter your license key. This can be a vRealize Suite, vRealize Suite Universal, vRealize Automation or vRealize Automation Universal key.
- FIPS Compliance Mode – Choose whether to enable FIPS compliance mode. Once this is set, you are not able to change this setting post-installation.
- Node Size – Medium or Extra Large as shown in the prerequisites table
- Virtual Machine Name – Virtual machine name as seen in vCenter
- IP Address – IP address that you have assigned to the appliance
- Hostname – The FQDN of the appliance
- K8S Cluster IP Range – The default is 10.244.0.0/24. Use the default unless you have a networking conflict with the appliance itself.
- K8S Service IP Range – The default is 10.244.4.0/24. Use the default unless you have a networking conflict with the appliance itself.
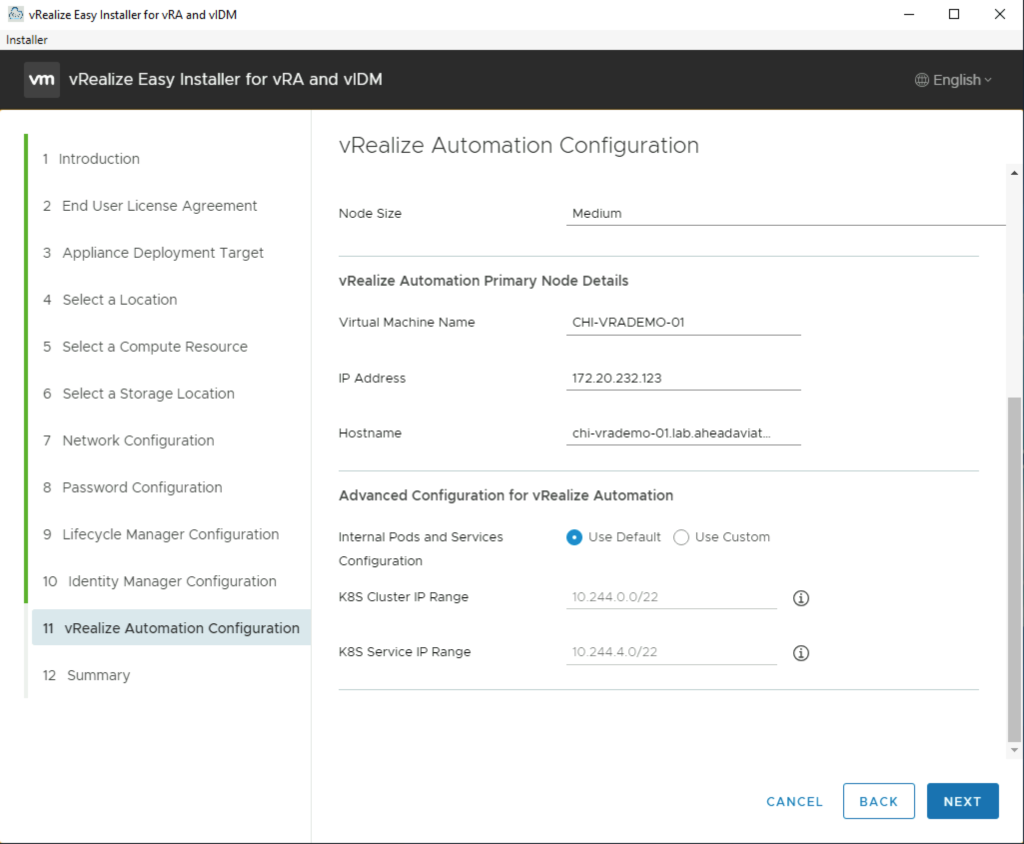
Finally, we can review everything we have done over the last 10 – 15 minutes of this wizard and the submit the build.
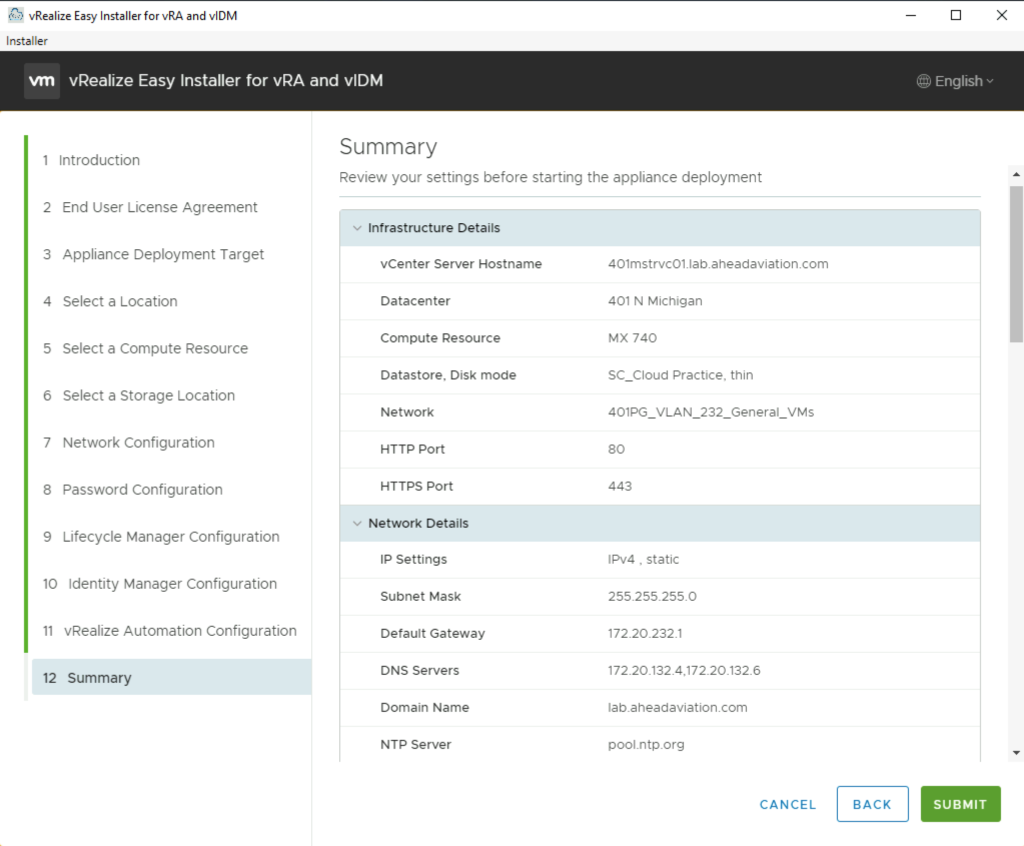
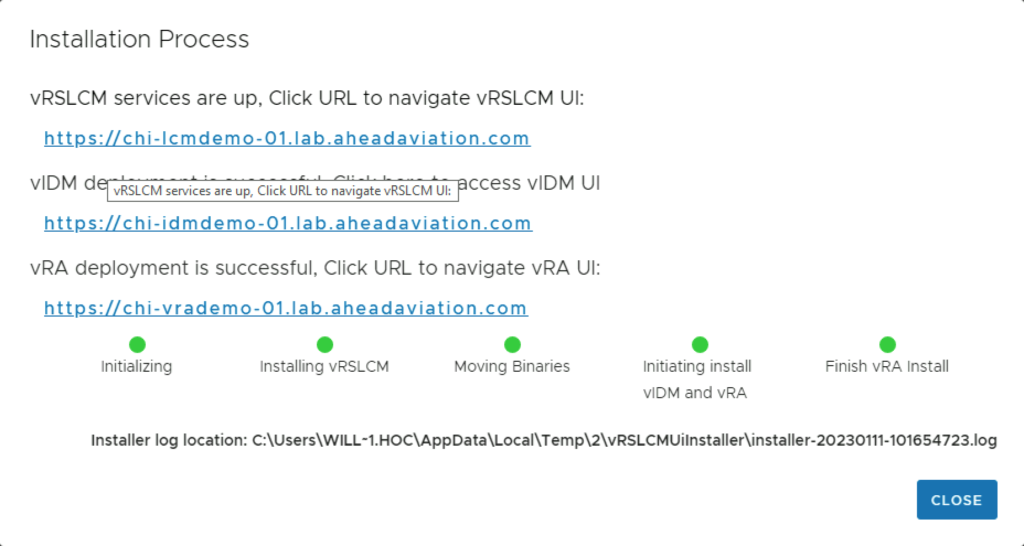
You will see a progress bar pop up that will help you know where the install is at in the process. This will take a couple hours or more depending on the performance of your environment and if you chose to deploy clusters.

Once the install is complete, you will be presented with the below image showing the URLs for accessing each of these new applications.
Now that we have completed the install, check out this article on the Base Config of your new deployemnt.


Leave A Reply