Plugins are the packaged sets of workflows, actions, objects, etc. that help us to orchestrate our environments. vRealize Orchestrator comes with many pre-installed plugins to get us started, but sometimes we just need more than defaults. When that time comes, we need to install additional plugins in the vRealize Orchestrator’s Control Center. To find plugins, we can either check with the manufacturer for available plugins or check out the VMware Marketplace.
Control Center is the backend of vRealize Orchestrator and where we install and manage plugins, view logs and check system configurations. To get to Control Center, we navigate to the following URL swapping out our Orchestrator FQDN in the process.
- https://<OrchestratorFQDN>/vco-controlcenter
Once there, we will need to login with root and the root password of our appliance.

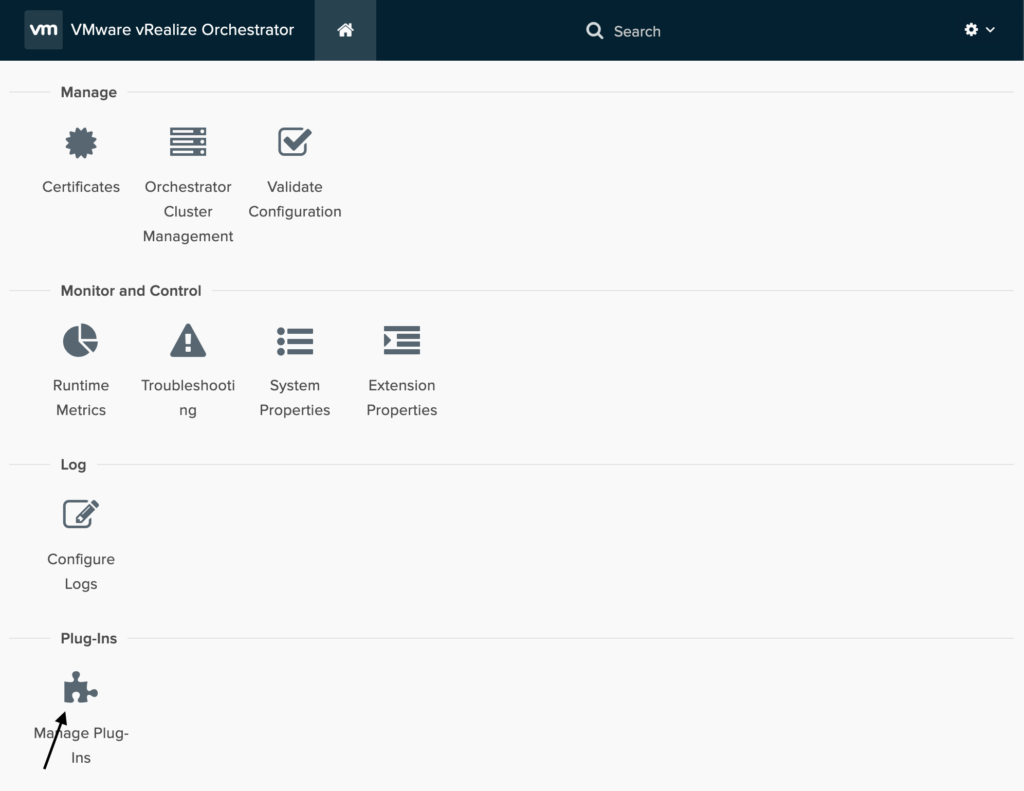
On the home page, we will see all the options of things we can do here. Since we are wanting to work with plugins, we click on Manage Plug-Ins at the bottom.

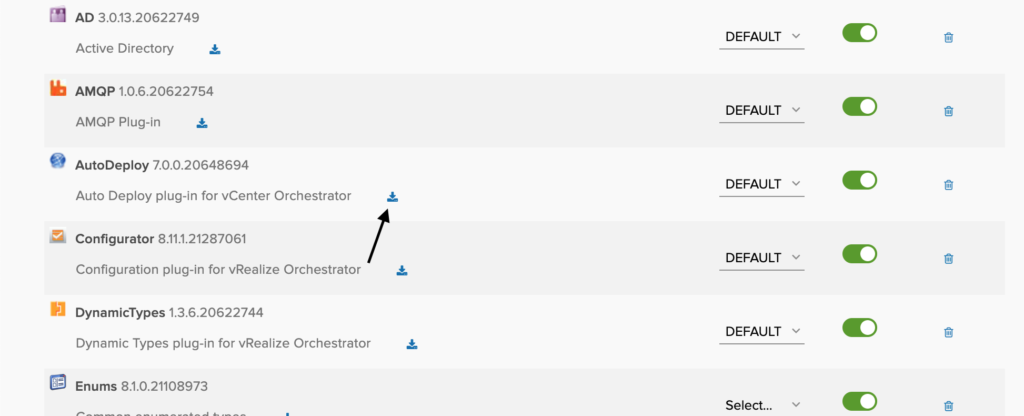
On the plugins page, we will see all the plugins that are currently installed. We can also perform different actions on installed plugins. As shown below, we can download a plugin simply by clicking on the download icon. We can also set logging levels per plugin which can be especially useful when heavily using certain plugins or to disable or delete them when not in use.

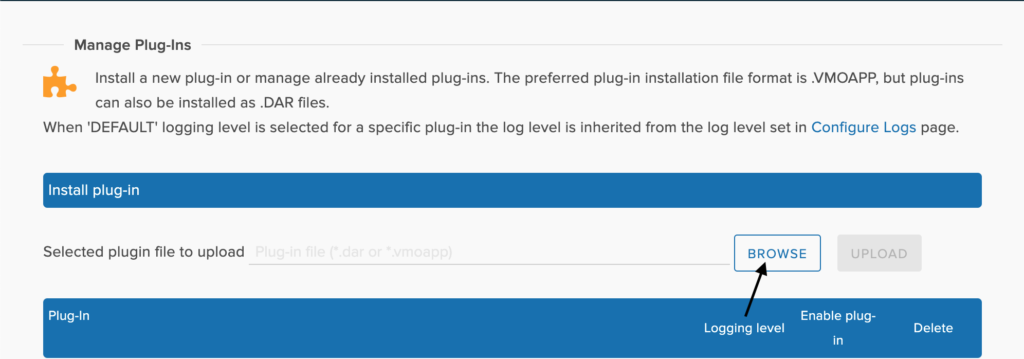
To install a new plugin, we need to browse to the plugin file. Most plugins begin with o11nplugin and are a dar or vmoapp file. Let’s go ahead and select a file now.

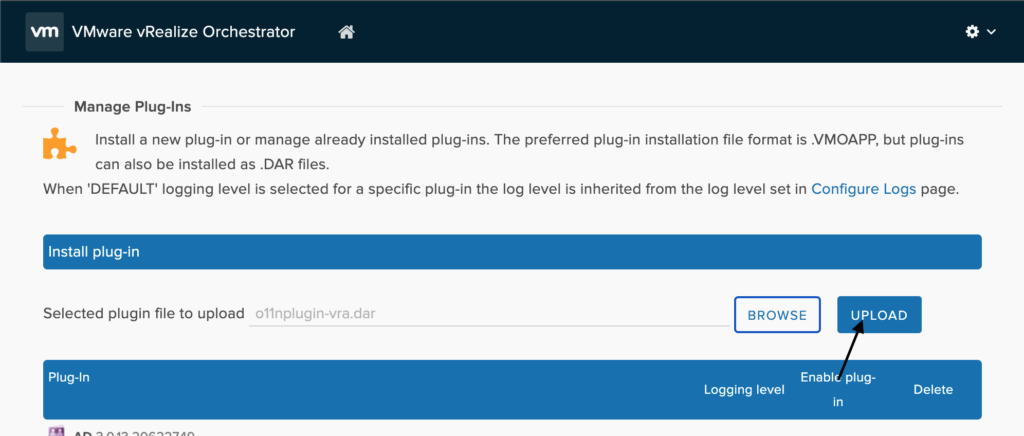
Once we have selected the file, it will be displayed on the line, and we need to click the Upload button to upload the file to Orchestrator.

Once the upload is complete, the Control Center services will need to restart. This process will happen automatically and will take a few minutes to complete, so do not worry if you end up on a failure to load or bad gateway page on Control Center.


Leave A Reply